
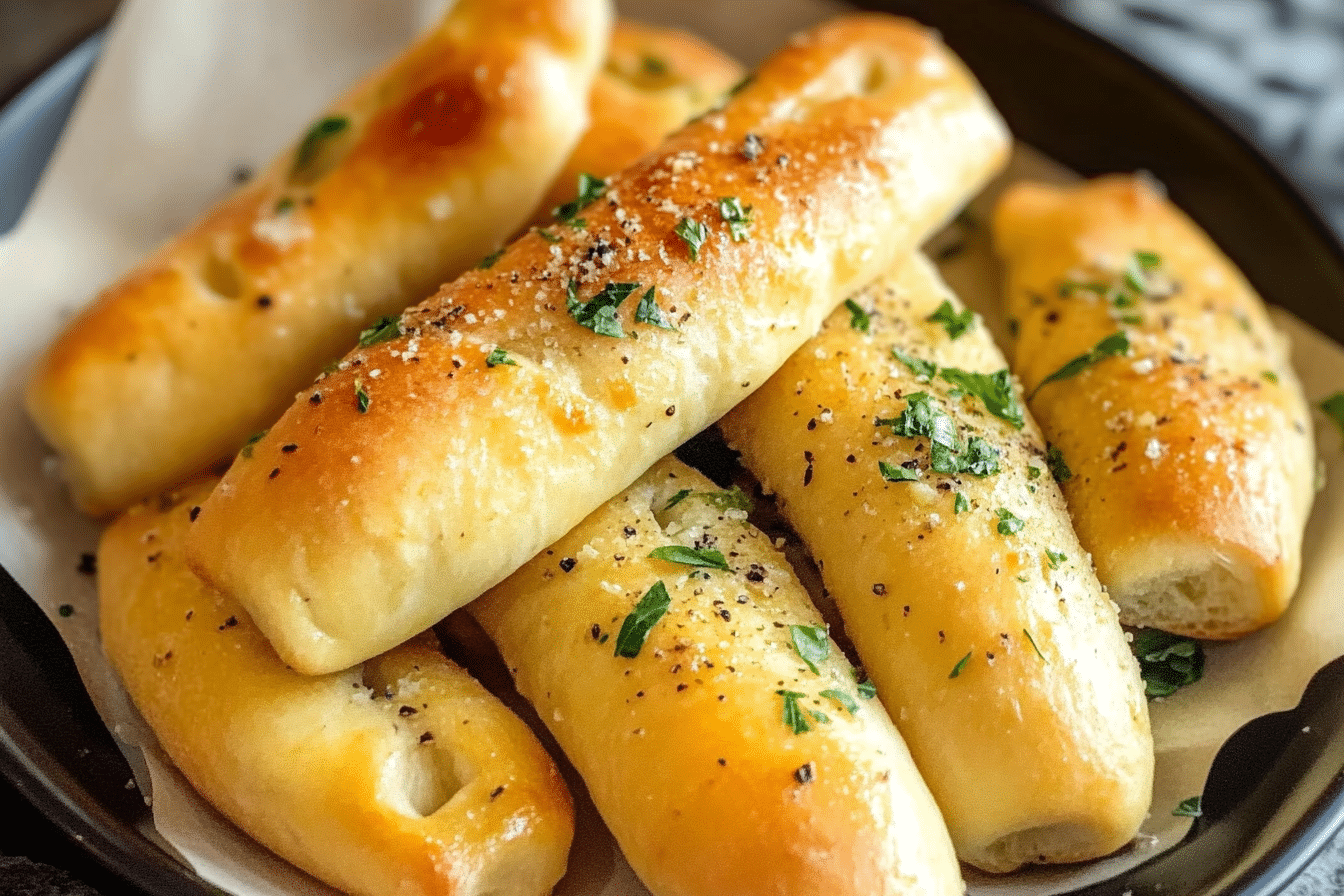
Hey, bread lovers! If you’re a fan of warm, garlicky breadsticks with a little twist, you’re in for a treat with these Olive Garlic Breadsticks. They’re the perfect combination of savory flavors and soft, pillowy texture. Trust me, one bite and you’ll be hooked. These breadsticks are great for dipping, pairing with your favorite pasta, or even enjoying as a snack all on their own. You’ll love how the olives add a burst of briny flavor that perfectly complements the garlic and herbs. Let’s dive in, shall we?
Disclosure: This post contains affiliate links.If you click and make a purchase, I may earn a small commission at no extra cost to you.


Why You’ll Love Olive Garlic Breadsticks
This recipe isn’t just about making breadsticks—it’s about crafting that perfect moment when you tear into a warm, fresh-baked treat and savor the flavors. Here’s why it’s a favorite:
Versatile: Perfect for serving with a wide range of dishes. Whether it’s pizza night, pasta dinner, or a cozy evening in, these breadsticks fit the bill. They also make an amazing appetizer or snack!
Flavorful: The mix of garlic, olives, and fresh herbs gives these breadsticks an extra depth of flavor. They’re savory, a little tangy, and completely irresistible.
Quick and Easy: You don’t need to be a bread-baking expert to make these! With a few simple ingredients and straightforward steps, you’ll have soft, warm breadsticks in no time.
Customizable: You can tweak the recipe by using different types of olives, adding a sprinkle of cheese, or even drizzling some balsamic glaze on top for an extra pop of flavor.
Crowd-Pleasing: These breadsticks are sure to be a hit at your next family dinner or gathering. Who doesn’t love fresh, garlicky bread, especially when it’s made with love?
Ingredients
Here’s what you’ll need to make these delectable breadsticks:
Olives: Kalamata olives are perfect here, but feel free to use any olives you prefer. Their briny, slightly tangy flavor adds a delightful twist to these breadsticks.
Garlic: Fresh garlic gives these breadsticks that deliciously rich, savory flavor. You can’t go wrong with garlic, right?
Olive Oil: The olive oil adds moisture and helps the breadsticks become golden and crispy on the outside while staying soft on the inside.
All-Purpose Flour: The base of our breadsticks. It gives them that fluffy texture we all crave.
Yeast: You need yeast to give the breadsticks that perfect rise and airy texture. Don’t worry, it’s simple to use!
Herbs: A mix of dried oregano and basil gives these breadsticks that classic Italian flavor.
Sugar and Salt: Just a pinch of sugar to help activate the yeast and a dash of salt for seasoning.
Instructions
Let’s dive into the steps to create these delicious breadsticks:
Activate the Yeast: In a small bowl, combine warm water, sugar, and yeast. Stir gently and let it sit for about 5 minutes until the mixture is bubbly and foamy. This means your yeast is ready to work its magic!
Prepare the Dough: In a large mixing bowl, combine the flour, salt, and dried herbs. Add the yeast mixture and olive oil to the dry ingredients. Stir until a dough begins to form.
Knead the Dough: On a lightly floured surface, knead the dough for about 5-7 minutes until it’s smooth and elastic. If it’s sticky, just sprinkle a little more flour as needed.
Let It Rise: Place the dough in a lightly oiled bowl, cover with a clean kitchen towel, and let it rise in a warm spot for about 1 hour or until it’s doubled in size.
Shape the Breadsticks: Punch down the dough to release any air bubbles. Then, divide it into equal pieces and roll each piece into a thin stick shape, about 6 inches long.
Add the Olives: Gently roll each dough stick in chopped olives, ensuring they stick to the surface. You can also lightly press the olives into the dough to help them adhere.
Bake: Preheat your oven to 375°F (190°C). Place the breadsticks on a parchment-lined baking sheet and bake for 12-15 minutes, or until they are golden brown and puffed up.
Brush with Garlic Oil: While the breadsticks are baking, mix olive oil and minced garlic in a small pan. Once the breadsticks come out of the oven, immediately brush them with the garlic oil for that extra pop of flavor.
Serve and Enjoy: Serve these warm with marinara sauce, a cheesy dip, or just on their own. Enjoy the savory goodness!
How to Serve Olive Garlic Breadsticks
These breadsticks are perfect for pairing with a variety of dishes. Here are some ideas to complete your meal:
With Pasta: Serve alongside your favorite pasta dishes, like spaghetti, lasagna, or fettuccine Alfredo. They’re perfect for dipping into marinara or Alfredo sauce.
Pizza Night: No pizza night is complete without these garlic breadsticks. Serve them as a side, or use them to scoop up extra pizza sauce.
As a Snack: These breadsticks are perfect for snacking on their own. They’re great for dipping into hummus, olive tapenade, or even a yogurt-based dip.
Salads: Pair them with a fresh salad, like a classic Caesar or a Mediterranean salad, for a balanced meal.
Additional Tips
Here are a few tips to elevate your breadsticks even further:
Use Fresh Garlic: If you really love garlic, feel free to add extra minced fresh garlic to the dough for an even more intense garlic flavor.
Try Different Olives: Experiment with different types of olives, such as green olives, to add variety to the flavor.
Add Cheese: Sprinkle some shredded Parmesan or mozzarella on top of the breadsticks before baking for an extra cheesy touch.
Storage Tips: Store leftovers in an airtight container for up to 2 days. Reheat in the oven for a few minutes to bring back that fresh-baked taste.
Freezing: Freeze the unbaked breadsticks for later use. Simply place them on a baking sheet, freeze, and once they’re solid, transfer them to a freezer-safe bag. Bake directly from frozen at 375°F for 18-20 minutes.
FAQ Section
Q1: Can I use a different type of flour?
A1: Yes! You can use whole wheat flour or bread flour if you prefer. Just note that whole wheat flour may result in denser breadsticks.
Q2: Can I make these without olives?
A2: Absolutely! You can skip the olives and make classic garlic breadsticks. You can even add other ingredients like cheese or herbs.
Q3: Can I make these breadsticks in advance?
A3: Yes! You can prepare the dough ahead of time, let it rise, and refrigerate it. When you’re ready, shape and bake the breadsticks as usual.
Q4: How do I store leftover breadsticks?
A4: Store them in an airtight container for up to 2 days. Reheat in the oven to restore their crispy texture.
Q5: Can I freeze the dough?
A5: Yes! You can freeze the dough after it rises. When ready to bake, thaw it in the fridge overnight and proceed with shaping and baking.
Q6: Can I make these breadsticks without yeast?
A6: You can use a baking powder-based dough, but the texture will be different. They won’t be as soft and airy as yeast-based breadsticks.
Q7: Can I make these breadsticks gluten-free?
A7: Yes! Use a gluten-free flour blend, and the results should be just as tasty.
Q8: How do I make these breadsticks spicy?
A8: Add a pinch of red pepper flakes to the dough or sprinkle them on top before baking for a spicy kick.
Q9: Can I add other toppings to the breadsticks?
A9: Definitely! Consider adding sesame seeds, rosemary, or even a drizzle of honey after baking for a unique twist.
Q10: Can I serve these with dips?
A10: Absolutely! Marinara, garlic butter, or even a creamy spinach dip make fantastic pairings with these breadsticks.
Conclusion
And there you have it! These Olive Garlic Breadsticks are the perfect combination of garlicky, savory goodness with a little touch of Mediterranean flavor. Whether you’re pairing them with pasta, serving them as an appetizer, or simply enjoying them with a dip, they’re sure to become a favorite. Grab your ingredients, preheat your oven, and enjoy these fresh, warm, and flavorful breadsticks tonight!
Print
Olive Garlic Breadsticks
- Prep Time: 1 hour 30 minutes
- Cook Time: 20 minutes
- Total Time: 1 hour 50 minutes
- Yield: 10 breadsticks 1x
- Category: Bread, Pizza
- Method: Baking
- Cuisine: Italian
- Diet: Vegetarian
Description
These soft, chewy, and buttery garlic breadsticks taste just like the ones from Olive Garden! Freshly baked and brushed with a savory garlic butter topping, these homemade breadsticks are perfect as a side for pasta, soups, or salads. You might start with one—but don’t be surprised if you eat more!
Ingredients
For the Dough:
- 1 1/2 cups lukewarm water
- 3 teaspoons active dry yeast
- 1 tablespoon granulated sugar
- 2 cups bread flour
- 1 1/4 cups all-purpose flour
- 2 tablespoons salted butter, melted
- 2 teaspoons kosher salt
For the Garlic Butter Topping:
- 1/4 cup salted butter, melted
- 2 tablespoons flaky sea salt
- 1 tablespoon garlic powder
- 1/2 tablespoon dried parsley
Instructions
Step 1: Prepare the Garlic Butter Topping
- In a small bowl, mix flaky sea salt, garlic powder, and dried parsley. Set aside.
Step 2: Activate the Yeast
- In the bowl of a stand mixer, combine lukewarm water, sugar, and yeast. Lightly whisk and let sit for 7-10 minutes until foamy.
Step 3: Make the Dough
- Add bread flour, all-purpose flour, salt, and melted butter to the yeast mixture.
- Using the dough hook attachment, knead on low speed for 7-8 minutes until smooth.
Step 4: Proof the Dough
- Transfer dough to a lightly oiled bowl, cover with plastic wrap or a towel, and let rise in a warm place for 1 hour until doubled in size.
- Punch down the dough and divide it into 10 equal pieces.
- Roll each piece into a breadstick shape using the palm of your hand.
Step 5: Second Rise & Bake
- Place breadsticks on a parchment-lined baking sheet, cover with a towel, and let rest for 10-15 minutes.
- Preheat oven to 375°F (190°C).
- Brush the breadsticks with some of the melted butter.
- Bake for 15-20 minutes until golden brown.
Step 6: Finish with Garlic Butter
- Brush warm breadsticks with remaining melted butter and sprinkle generously with the garlic salt topping.
Notes
- Storage: Keep leftovers in an airtight container at room temperature for up to 2 days.
- Reheating: Warm in a 350°F oven for 5 minutes or microwave for 15 seconds.
- Make Ahead: Freeze unbaked breadsticks and bake when needed.
- Serving Ideas: Serve with marinara, Alfredo, or garlic butter dip.
Nutrition
- Serving Size: 1 breadstick
- Calories: 180 kcal
- Sugar: 1g
- Sodium: 460mg
- Fat: 6g
- Saturated Fat: 3g
- Unsaturated Fat: 2g
- Trans Fat: 0g
- Carbohydrates: 27g
- Fiber: 1g
- Protein: 4g
- Cholesterol: 10mg