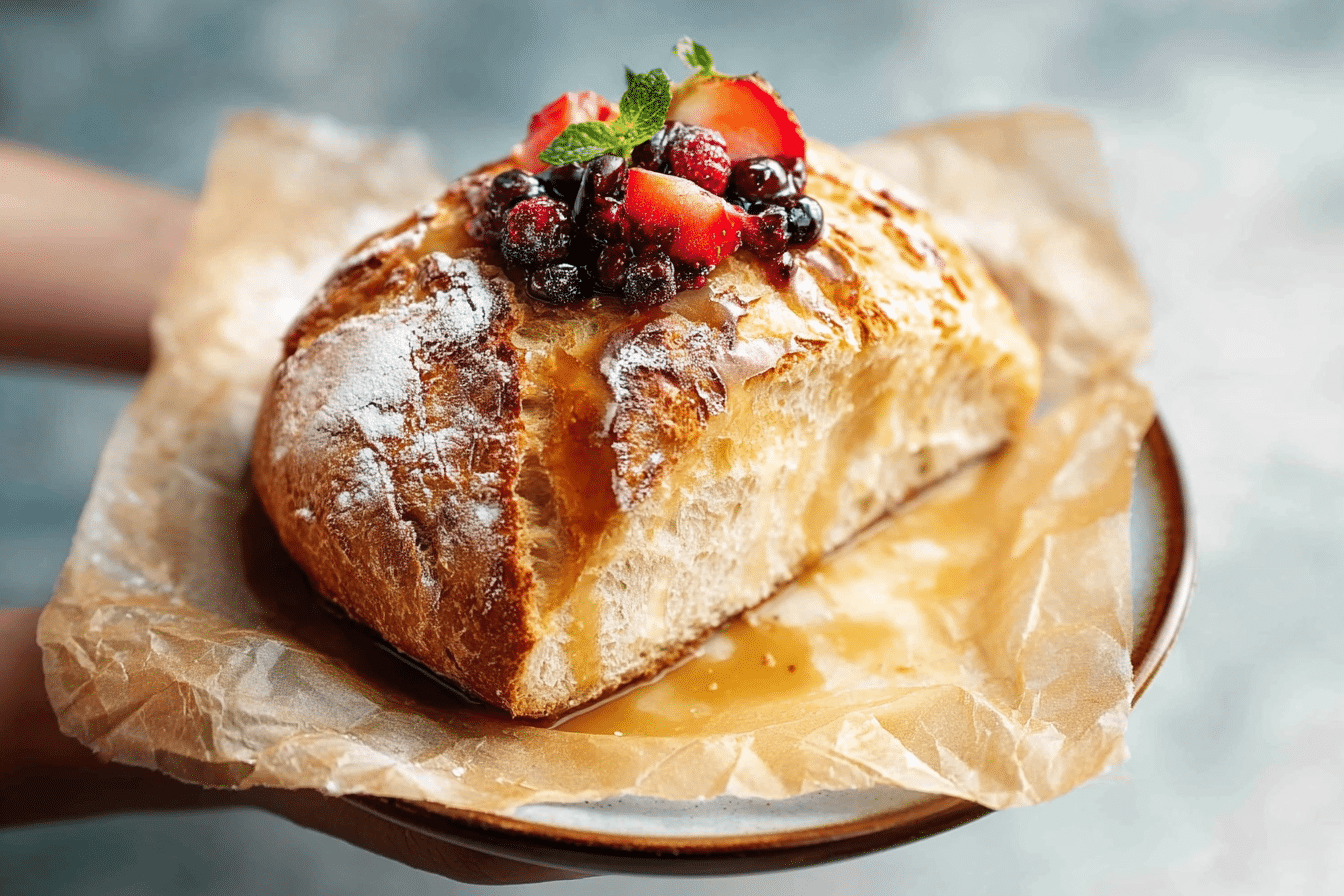
If you’ve ever dreamed of baking fresh, crusty bread at home but were intimidated by kneading and complicated recipes, this is your miracle moment. This no-knead bread is simple, rustic, and downright addictive. In just a few steps, you’ll have a loaf with a golden-brown crust, airy interior, and that irresistible aroma that fills your whole kitchen.
Disclosure: This post contains affiliate links.If you click and make a purchase, I may earn a small commission at no extra cost to you.
There’s something deeply satisfying about slicing into a warm loaf and hearing that perfect “crack” as you pull the first piece apart. Whether you’re slathering it with butter, dipping it into soup, or making a classic sandwich, this bread elevates any meal. Trust me, once you try it, you’ll never look at store-bought loaves the same way.
Why You Will Love This Miracle No-Knead Bread
Super simple
No fancy equipment, no kneading, no intimidating steps—just mix, wait, bake, and enjoy.
Incredible texture
Crispy crust, chewy inside, and perfectly airy—bread that tastes like it came from a bakery.
Minimal ingredients
Just flour, water, yeast, and salt. Pantry staples turn into magic.
Perfect for any occasion
Breakfast toast, sandwich bread, or a rustic side with dinner—the possibilities are endless.
Beginner-friendly
Even if you’ve never baked bread before, this recipe is virtually foolproof.
Ingredients in Miracle No-Knead Bread
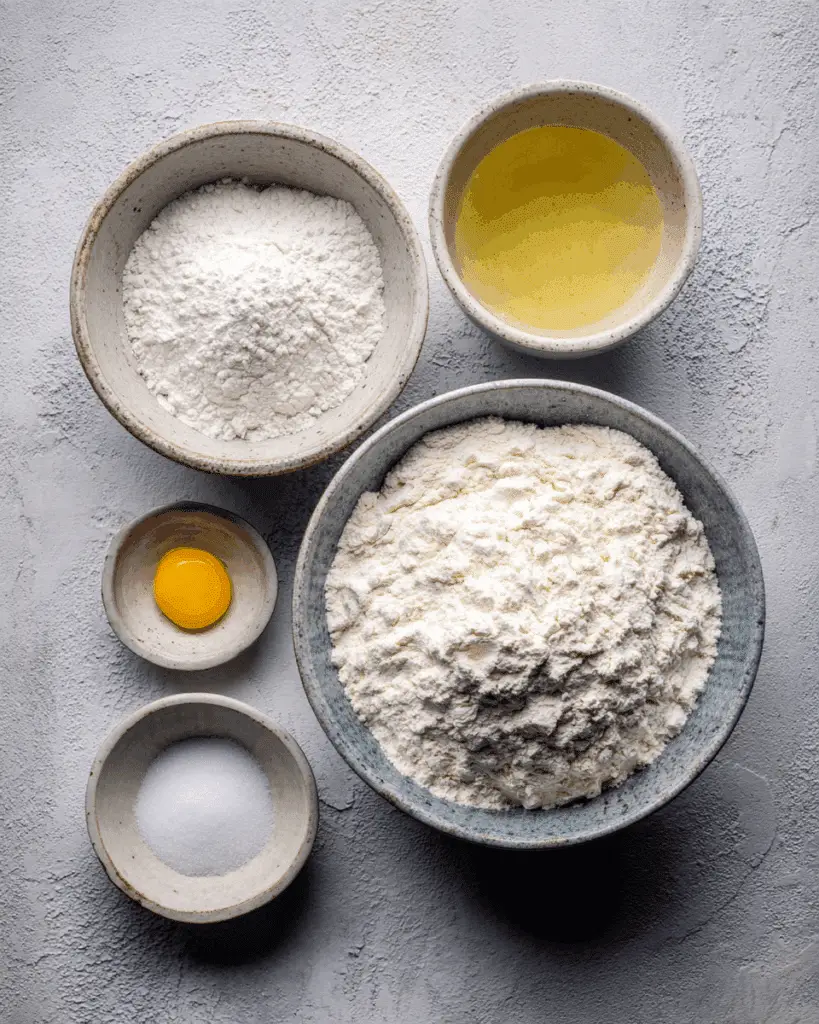
All-purpose flour: 3 cups
The foundation of the loaf. Provides structure and helps create that chewy, airy crumb.
Salt: 1 1/2 teaspoons
Enhances flavor and strengthens the gluten, giving your bread better texture.
Instant yeast: 1/2 teaspoon
Just enough yeast to gently leaven the dough over time without overpowering the flavor.
Room temperature water: 1 1/2 cups
Hydrates the dough and helps activate the yeast, creating that soft, elastic interior.

Instructions
Step 1: Mix the dough
In a large bowl, combine the flour, salt, and yeast. Add the water and stir until a sticky dough forms. No kneading needed—just mix until all the flour is incorporated.
Step 2: First rise
Cover the bowl with plastic wrap or a clean kitchen towel and let it rest at room temperature for 12–18 hours. The dough will bubble and double in size—a sign that your bread is coming to life.
Step 3: Preheat the oven
Place a heavy-duty oven-safe pot (like a Dutch oven) with the lid on into the oven and preheat to 450°F (230°C). Preheating the pot ensures the bread gets a perfect crust.
Step 4: Shape the dough
Carefully turn the dough out onto a well-floured surface. Shape it into a ball by folding the edges underneath—no kneading, just gentle handling.
Step 5: Second rise
Place the dough on a piece of parchment paper and let it rest for about 30 minutes while the oven finishes preheating.
Step 6: Bake the bread
Carefully remove the hot pot from the oven. Lift the dough with the parchment paper and place it inside. Cover with the lid and bake for 30 minutes. Remove the lid and bake for another 10–15 minutes until the crust is golden brown and crisp.
Step 7: Cool and enjoy
Transfer the bread to a wire rack to cool for at least 30 minutes. Slice it warm with butter, olive oil, or your favorite spread and savor every bite.
Tips for Perfect No-Knead Bread
Patience is key
The long first rise develops flavor and structure, so don’t rush it.
Use a heavy pot
A thick Dutch oven or similar oven-safe pot traps steam, giving you that bakery-style crust.
Flour your hands
When handling the dough, flour your hands to prevent sticking without deflating the dough.
Slice after cooling
Cutting too early can make the crumb gummy, so let it cool a little before slicing.
Serving Ideas
- Breakfast toast: Slather with butter, jam, or honey.
- Sandwiches: Perfect for hearty or gourmet fillings.
- Soup companion: Tear it into chunks and dip into stews or creamy soups.
- Bruschetta: Toast slices and top with tomatoes, olive oil, and basil for a quick snack.
Make-Ahead and Storage Tips
- Prep ahead: Mix the dough the night before and bake fresh the next day.
- Storage: Keep leftover bread in a paper bag at room temperature for 2–3 days. Avoid plastic to maintain a crispy crust.
- Freezing: Slice and freeze extra loaves; toast or reheat slices as needed.
Variations to Try
- Herb bread: Add rosemary, thyme, or oregano to the dough.
- Garlic bread: Mix in minced garlic or brush with garlic butter before baking.
- Cheese bread: Fold in shredded cheese for a savory twist.
- Seeded crust: Sprinkle sesame, poppy, or sunflower seeds on top before baking.
Additional Tips
- Make sure water is room temperature—not too hot or cold—to activate the yeast properly.
- Use parchment paper to make transferring the dough easier.
- Experiment with different flours, like half whole wheat for a heartier loaf.
- If your crust gets too dark, cover with foil during the last few minutes of baking.
FAQ Section
Q1: Can I use active dry yeast instead of instant yeast?
A1: Yes! Dissolve it in a little water first and let it bloom for 5–10 minutes before adding.
Q2: Do I really need to preheat the pot?
A2: Absolutely—this creates steam inside the pot, giving you that bakery-style crust.
Q3: Can I shorten the first rise?
A3: You can, but the flavor and texture won’t be as rich. Overnight is ideal.
Q4: How do I store leftover bread?
A4: Store in a paper bag at room temperature for 2–3 days or freeze slices for longer storage.
Q5: Can I make smaller loaves?
A5: Yes, just adjust the baking time slightly for smaller portions.
Q6: Can I add seeds or nuts to the dough?
A6: Definitely! Fold them in gently before the first rise.
Q7: Is this bread gluten-free?
A7: Not as written, but you could experiment with gluten-free flour blends (texture will differ).
Q8: Can I bake it without a Dutch oven?
A8: Yes, but the crust won’t be quite as crispy. Use a baking stone or heavy pan for best results.
Q9: Will the bread rise if my kitchen is cold?
A9: It may take longer. Look for bubbles and doubled dough as your guide.
Q10: Can I make this in the morning for the same day?
A10: You can, but the dough needs at least 8–10 hours to develop flavor properly.
Conclusion
Miracle No-Knead Bread is proof that amazing bread doesn’t have to be complicated. With minimal effort and simple ingredients, you can fill your kitchen with the scent of freshly baked, crusty, and chewy bread that tastes like it came from a bakery. Once you try it, this recipe will become your go-to for breakfasts, dinners, or any time you want a slice of comfort straight from your oven.
Print
Miracle No-Knead Bread
- Prep Time: 15 minutes
- Cook Time: 45 minutes
- Total Time: 12 hours 45 minutes
- Yield: 1 loaf 1x
- Category: Bread
- Method: Baking
- Cuisine: American
- Diet: Vegetarian
Description
Miracle No Knead Bread is a simple, rustic loaf that requires minimal effort but delivers maximum flavor. With just four ingredients and no kneading, you can enjoy a crusty, golden-brown bread with a soft, airy interior.
Ingredients
- 3 cups all-purpose flour
- 1 1/2 teaspoons salt
- 1/2 teaspoon instant yeast
- 1 1/2 cups room temperature water
Instructions
- In a large bowl, whisk together the flour, salt, and instant yeast until well combined.
- Add the water and stir with a wooden spoon until a sticky, shaggy dough forms. Do not knead.
- Cover the bowl with plastic wrap or a clean kitchen towel and let it rise at room temperature for 12–18 hours, until the dough has doubled and has bubbles on the surface.
- Preheat the oven to 450°F (230°C). Place a Dutch oven with its lid in the oven while preheating.
- Carefully remove the hot Dutch oven from the oven. Transfer the dough onto a floured surface and shape it into a round loaf.
- Place the dough into the hot Dutch oven. Cover with the lid and bake for 30 minutes.
- Remove the lid and bake for an additional 10–15 minutes, until the crust is deep golden brown.
- Remove the bread from the Dutch oven and cool on a wire rack for at least 1 hour before slicing.
Notes
- For a crispier crust, bake a few minutes longer uncovered.
- You can add herbs or seeds to the dough for extra flavor.
- This bread freezes well; slice and freeze for convenient future use.
- Use room temperature water to help the yeast activate properly.
Nutrition
- Serving Size: 1 slice (1/12 loaf)
- Calories: 150
- Sugar: 0g
- Sodium: 170mg
- Fat: 1g
- Saturated Fat: 0g
- Unsaturated Fat: 1g
- Trans Fat: 0g
- Carbohydrates: 30g
- Fiber: 1g
- Protein: 5g
- Cholesterol: 0mg


