
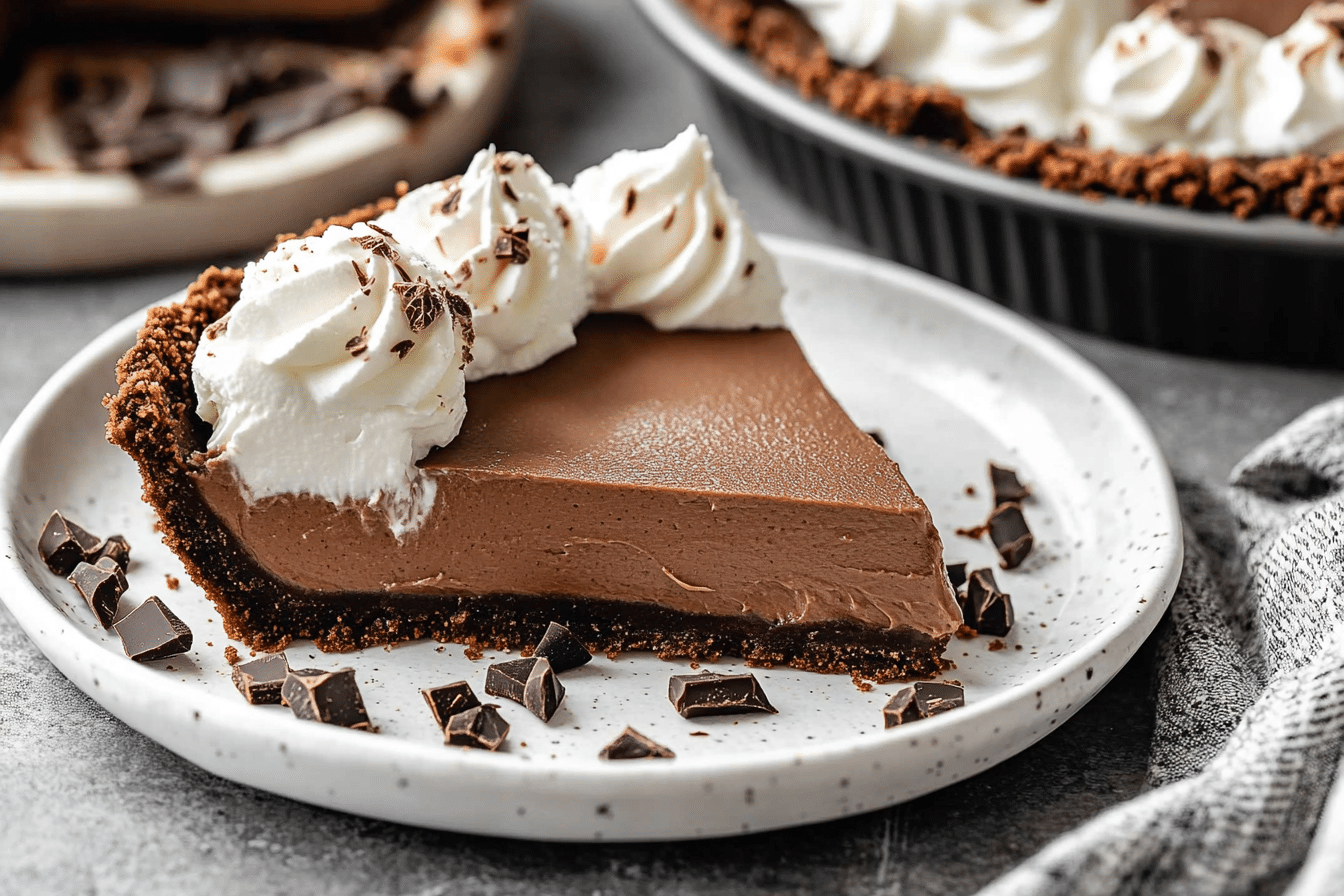
This Chocolate Pie is pure, rich decadence—silky smooth chocolate filling nestled in a flaky, buttery crust. It’s the kind of dessert that feels nostalgic, comforting, and just indulgent enough to make any day special. Whether you’re making it for a holiday, a dinner party, or just a cozy night in, this pie is a guaranteed winner!
Disclosure: This post contains affiliate links.If you click and make a purchase, I may earn a small commission at no extra cost to you.


Why You’ll Love This Recipe
Rich & Creamy: The chocolate filling is luxuriously smooth and melts in your mouth.
Easy to Make: Simple ingredients and straightforward steps make this pie foolproof.
Perfect for Any Occasion: Whether it’s Thanksgiving, a birthday, or just a chocolate craving, this pie fits every moment.
Make-Ahead Friendly: Chill it overnight, and it’s ready to impress the next day.
Customizable: Use dark, milk, or even white chocolate for different flavors.
Ingredients in Chocolate Pie
Pie Crust: The base that holds all the chocolate goodness—homemade or store-bought works perfectly.
Chocolate Filling: A dreamy mixture of chocolate, sugar, eggs, and cream, creating a silky-smooth custard.
Cornstarch: Helps thicken the filling for the perfect consistency.
Vanilla Extract: Enhances the deep chocolate flavor.
Butter: Adds richness and a glossy finish to the filling.
Whipped Cream: The perfect light and airy topping to balance the chocolate’s intensity.
Chocolate Shavings: A simple yet elegant garnish for the perfect finishing touch.
(Note: The full ingredients list, including measurements, is provided in the recipe card directly below.)
Instructions
Prepare the Crust: If using a homemade pie crust, roll it out and bake until golden brown. Let it cool completely.
Make the Chocolate Filling: In a saucepan, whisk together sugar, cornstarch, and milk. Cook over medium heat, stirring constantly, until thickened.
Temper the Eggs: Slowly pour a bit of the hot mixture into the beaten eggs while whisking. This prevents the eggs from scrambling.
Combine & Cook: Pour the egg mixture back into the saucepan and continue cooking until smooth and creamy.
Add Chocolate & Butter: Remove from heat, then stir in chocolate, butter, and vanilla until fully melted and combined.
Chill: Pour the chocolate filling into the cooled pie crust and refrigerate for at least 4 hours, or until set.
Top & Serve: Just before serving, spread whipped cream over the pie and garnish with chocolate shavings.
How to Serve Chocolate Pie
With Coffee: A slice of this pie pairs perfectly with a cup of espresso or cappuccino.
With Fresh Berries: Raspberries or strawberries add a refreshing contrast to the rich chocolate.
With Extra Chocolate Drizzle: Melt some chocolate and drizzle it over the top for a fancier presentation.
Additional Tips
Use High-Quality Chocolate: The better the chocolate, the better the flavor!
Chill for Best Results: Allow the pie to chill fully so the filling sets properly.
Don’t Skip the Tempering Step: This prevents the eggs from scrambling and keeps the filling silky smooth.
Make It Gluten-Free: Use a gluten-free pie crust to accommodate dietary needs.
FAQ Section
Q1: Can I use a store-bought pie crust?
A1: Absolutely! A pre-made crust works perfectly if you’re short on time.
Q2: Can I make this pie ahead of time?
A2: Yes! You can make it a day in advance and store it in the fridge. Just add whipped cream before serving.
Q3: How do I store leftovers?
A3: Keep the pie covered in the refrigerator for up to 3 days.
Q4: Can I freeze Chocolate Pie?
A4: Yes! Wrap it tightly and freeze for up to 2 months. Thaw in the fridge before serving.
Q5: Can I use milk chocolate instead of dark chocolate?
A5: Yes! You can use any chocolate you prefer, but dark chocolate gives a richer flavor.
Q6: How do I prevent my filling from becoming lumpy?
A6: Stir constantly while cooking and strain the filling through a fine-mesh sieve if needed.
Q7: Can I use dairy-free milk?
A7: Yes! Almond milk or coconut milk can work, but the texture may be slightly different.
Q8: What’s the best way to get smooth whipped cream?
A8: Use cold heavy cream and whip until soft peaks form—don’t overwhip, or it may turn grainy.
Q9: Do I need to bake the pie crust?
A9: Yes, if using a homemade crust, pre-baking ensures it doesn’t get soggy.
Q10: Can I add other flavors?
A10: Definitely! Try adding a splash of espresso, a pinch of cinnamon, or even a bit of orange zest for a fun twist.
Final Thoughts
This Chocolate Pie is pure comfort in every bite rich, creamy, and effortlessly elegant. Whether you’re making it for a special occasion or just because, it’s a dessert that never disappoints. Enjoy every chocolatey bite!
Print
Chocolate Pie
- Prep Time: 6 hours (for levain)
- Cook Time: 20 minutes
- Total Time: 6 hours 20 minutes
- Yield: 16 servings
- Category: Dessert
- Method: No-Bake
- Cuisine: American
Description
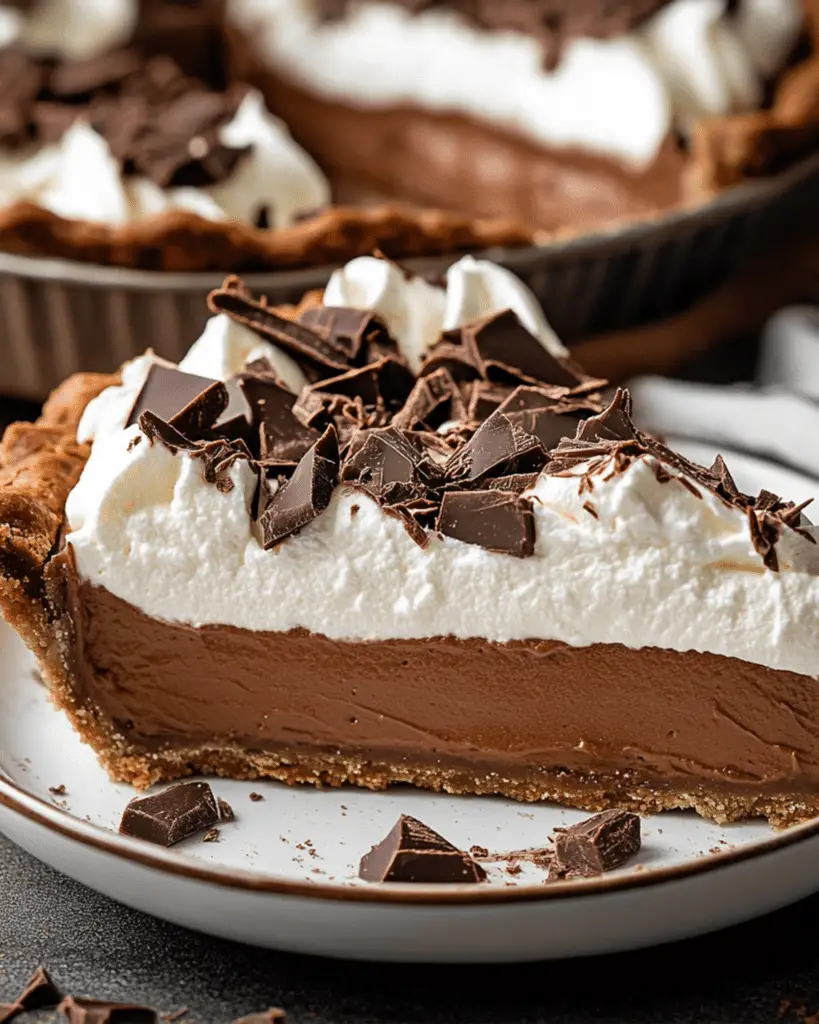
This Chocolate Cream Pie features a rich, homemade chocolate filling nestled in a buttery Oreo crust, topped with fresh whipped cream and chocolate curls. A dreamy dessert for every chocoholic!
Ingredients
For the Oreo Crust:
- 24 Oreo cookies
- 5 tbsp butter, melted
For the Chocolate Filling:
- 1/3 cup granulated sugar
- 2 1/2 cups whole milk
- 6 large egg yolks
- 2 tbsp cornstarch
- 6 tbsp salted butter, chopped
- 8 oz semi-sweet chocolate, chopped (use high-quality chocolate like Ghirardelli)
- 1 1/2 tsp vanilla extract
For the Whipped Topping:
- 1 cup heavy whipping cream
- 2 tbsp powdered sugar (or granulated sugar)
- 1 1/2 tsp vanilla extract
Instructions
Prepare the Oreo Crust:
- Preheat oven to 350°F (175°C).
- Crush Oreos in a food processor until fine crumbs form. Stir in melted butter.
- Press mixture evenly into the bottom and sides of a 9-inch pie dish.
- Bake for 10-12 minutes. Let cool completely. (Can be made 1-2 days ahead.)
Make the Chocolate Filling:
- In a medium saucepan, whisk together sugar and milk over medium heat until it starts to simmer.
- In a separate bowl, whisk egg yolks and cornstarch until smooth.
- Temper the eggs: Slowly add a few spoonfuls of the hot milk mixture into the eggs, whisking constantly. Repeat a few times.
- Combine mixtures: Slowly pour the egg mixture back into the saucepan, whisking continuously.
- Continue cooking, whisking constantly, until the mixture thickens and starts to gently boil (large bubbles breaking the surface).
- Remove from heat and stir in butter, chocolate, and vanilla until smooth.
Chill the Pie:
- Pour the chocolate filling into the cooled Oreo crust and smooth into an even layer.
- Place a piece of plastic wrap directly on top to prevent a skin from forming.
- Refrigerate for 4-6 hours or overnight until fully set.
Make the Whipped Topping:
- Once the pudding is set, beat heavy cream in a mixing bowl on high speed for 1-2 minutes.
- Add powdered sugar and vanilla and continue mixing until soft peaks form (2-3 minutes).
- Spread whipped cream over the pie and garnish with chocolate curls or shavings.
Notes
- Make Ahead: The pie can be prepared up to 2 days ahead and stored in the refrigerator.
- Storage: Keep covered in the refrigerator for up to 5 days.
- Chocolate Shavings: Use a vegetable peeler to shave a chocolate bar for elegant curls.
Nutrition
- Serving Size: 1 slice
- Calories: 324
- Sugar: 22g
- Sodium: 180mg
- Fat: 22g
- Saturated Fat: 12g
- Unsaturated Fat: 7g
- Trans Fat: 0g
- Carbohydrates: 30g
- Fiber: 2g
- Protein: 5g
- Cholesterol: 85mg