
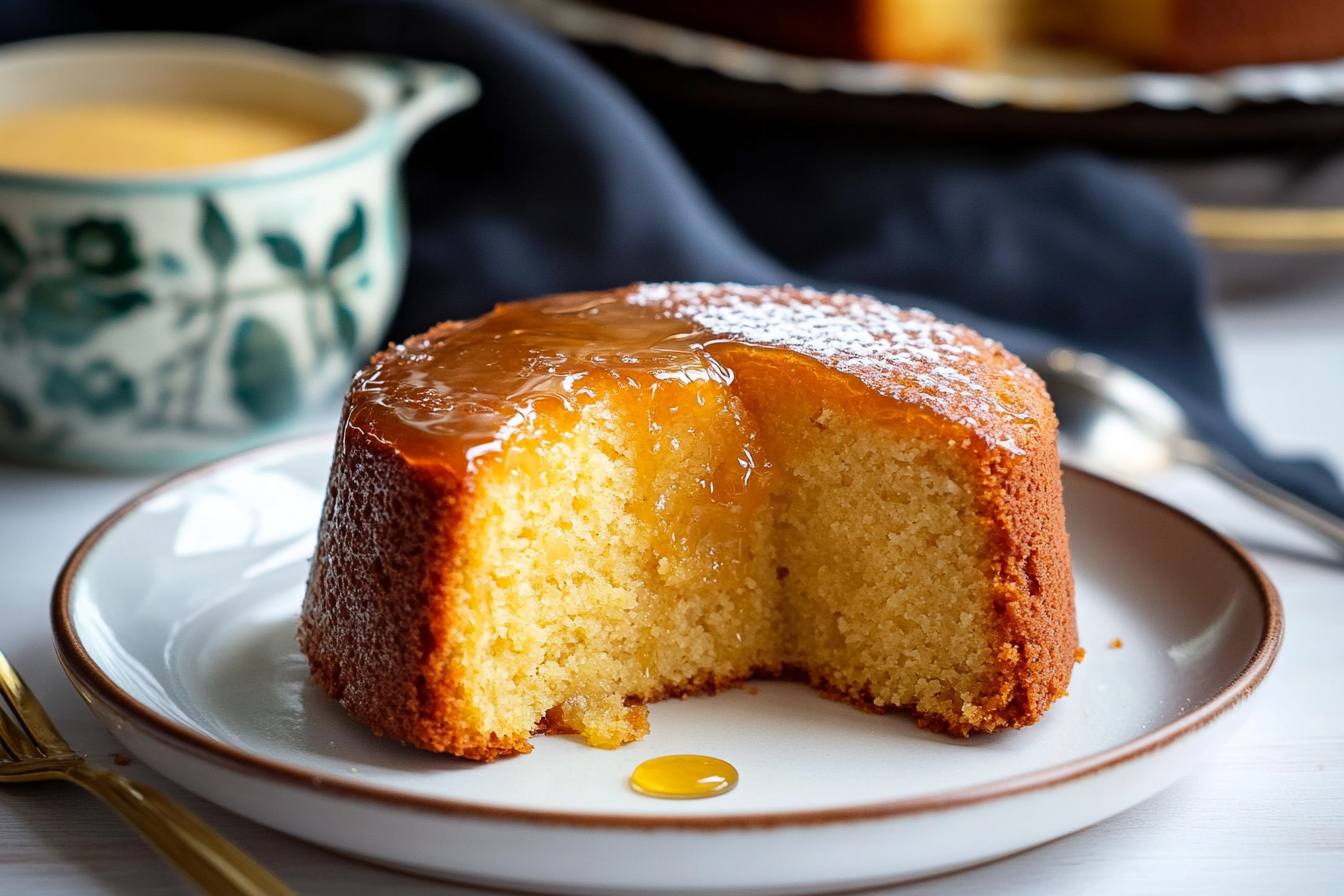
If you’ve never had Golden Syrup Sponge before, oh my goodness, you’re in for a treat! Imagine a soft, spongy cake drenched in sweet, golden syrup that just melts in your mouth with each bite. Now, picture all of that goodness being made in your slow cooker with minimal effort. It’s a dessert that combines nostalgia with convenience, and trust me, it’s going to be your new favorite go-to.
Disclosure: This post contains affiliate links.If you click and make a purchase, I may earn a small commission at no extra cost to you.


This Slow Cooker Golden Syrup Sponge is everything you need in a dessert: it’s indulgent, comforting, and so easy to prepare. The slow cooker does all the heavy lifting, leaving you free to relax and let the house fill with the most mouthwatering aroma. Whether you’re cooking for a cozy family dinner or a casual gathering with friends, this dessert is a guaranteed crowd-pleaser.
Why You’ll Love Slow Cooker Golden Syrup Sponge
This dessert isn’t just about how it tastes; it’s about making life a little sweeter (literally). Here’s why this recipe is an absolute must-try:
Effortless: The slow cooker does the work for you! Just mix, pour, and let it cook while you go about your day.
Irresistible Flavor: The combination of golden syrup and sponge cake is a match made in heaven. The cake is perfectly soft and light, while the syrup adds a rich, caramel-like sweetness.
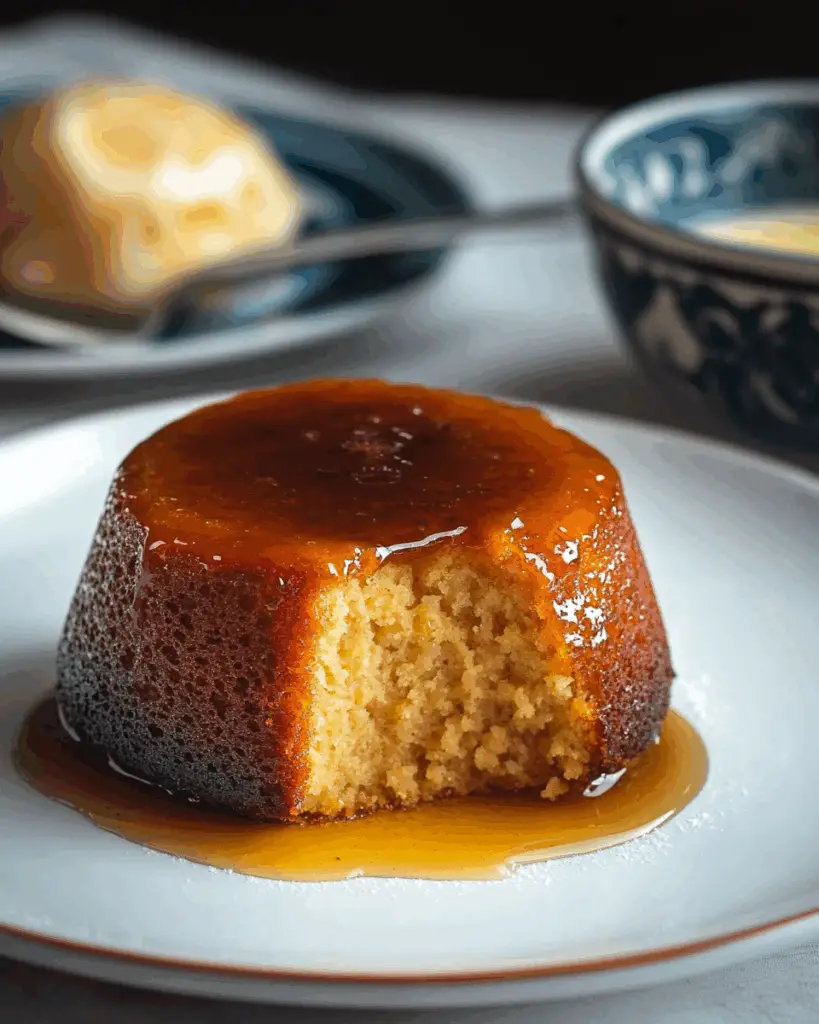
Perfect Texture: The slow cooking process creates a soft, tender sponge that practically melts in your mouth. And the golden syrup creates a delicious, gooey sauce that soaks into every bite.
Crowd-Pleasing: This is the kind of dessert that makes everyone smile. It’s perfect for families, dinner parties, or just because you deserve something special.
Customizable: Want to mix it up? Add a dollop of whipped cream, a scoop of vanilla ice cream, or a handful of fresh berries to really elevate the experience.
Ingredients in Slow Cooker Golden Syrup Sponge
Here’s everything you’ll need to make this dreamy dessert:
Golden Syrup: The star of the show. This thick, amber syrup gives the cake its signature flavor and creates that gooey sauce.
Self-Raising Flour: For the perfect sponge texture that’s light and fluffy.
Butter: Adds richness and helps create that melt-in-your-mouth texture.
Sugar: Just the right amount of sweetness to balance out the syrup.
Egg: Holds everything together and helps the cake rise.
Milk: Adds moisture to the batter, making the sponge soft and tender.
Vanilla Extract: For a little extra depth of flavor.
Baking Powder: Helps the sponge rise and become light and airy.
(Note: the full ingredients list, including measurements, is provided in the recipe card directly below.)
Instructions
Let’s dive into the magic of creating this irresistible dessert:
Prepare Your Slow Cooker: Lightly grease the bottom and sides of your slow cooker to prevent sticking. If you’re using a liner, that works too!
Mix the Batter: In a large bowl, combine the self-raising flour, sugar, and baking powder. Add the softened butter, egg, milk, and vanilla extract, then mix everything together until smooth.
Add the Golden Syrup: Pour the golden syrup into the bottom of the slow cooker, spreading it out evenly. This is what will create that luscious, gooey sauce for the sponge.
Pour the Batter: Carefully pour the batter over the golden syrup, spreading it evenly over the surface. Don’t worry if it looks a little messy—the slow cooker will work its magic.
Cook to Perfection: Cover and cook on low for about 2.5 to 3 hours, or until the cake is firm to the touch and a toothpick inserted comes out clean. Be sure not to open the lid too often, as that will let out the heat.
Serve and Enjoy: Once the cake is cooked, let it cool for a few minutes before serving. Dish it up with a generous pour of the syrupy sauce from the bottom of the slow cooker. Top with whipped cream or ice cream for an extra indulgent treat.
Nutrition Facts
Servings: [Number of servings]
Calories per serving: [Calorie count per serving]
Preparation Time
Prep Time: 10 minutes
Cook Time: 2.5 to 3 hours
Total Time: 3 hours
How to Serve Slow Cooker Golden Syrup Sponge
This dessert is rich and indulgent on its own, but here are a few ideas to make it even more special:
Whipped Cream: A dollop of freshly whipped cream adds a light, creamy contrast to the rich syrup.
Ice Cream: Vanilla ice cream is a classic pairing, but any creamy flavor works perfectly.
Fresh Berries: Serve with a handful of fresh berries for a bit of tartness that balances out the sweetness of the cake.
Custard: If you’re a fan of British-style desserts, pour some warm custard over the sponge for an extra indulgent experience.
Hot Chocolate Sauce: For a super decadent touch, drizzle some rich hot chocolate sauce over the cake.
Additional Tips
Watch the Time: Be sure to keep an eye on the slow cooker while it’s cooking. If you cook it for too long, the sponge can become dry, so check the cake around the 2.5-hour mark.
Don’t Open the Lid: The slow cooker works best when the lid stays on. Opening it too often lets out the heat and can affect the texture of the cake.
Double It Up: This recipe can easily be doubled if you’re cooking for a crowd. Just be sure your slow cooker can handle the extra ingredients.
Storage Tips: Leftovers can be stored in an airtight container in the fridge for up to 3 days. Reheat it gently in the microwave or on the stovetop.
Make it Dairy-Free: Use dairy-free butter and swap the milk for a plant-based alternative if you need a dairy-free version.
FAQ Section
Q1: Can I make this ahead of time?
A1: Yes! You can prepare the batter the night before and store it in the fridge. Just add the syrup and cook it the next day.
Q2: Can I freeze this dessert?
A2: Yes, it freezes beautifully! Let the sponge cool completely, then wrap it tightly in plastic wrap and freeze for up to 3 months. Thaw it overnight in the fridge before reheating.
Q3: How do I reheat leftovers?
A3: Reheat leftovers in the microwave for about 30-60 seconds, or warm it in the slow cooker on low for 20 minutes.
Q4: Can I make this recipe without a slow cooker?
A4: If you don’t have a slow cooker, you can bake the sponge in a greased cake tin in a preheated oven at 350°F (175°C) for about 25-30 minutes.
Q5: Can I use regular syrup instead of golden syrup?
A5: Golden syrup is a key ingredient for that distinct flavor, but you can substitute it with maple syrup or honey for a different, though delicious, result.
Q6: What can I serve this with besides ice cream?
A6: You can serve it with whipped cream, custard, or fresh fruit to balance out the richness of the cake.
Q7: How can I make this gluten-free?
A7: Swap out the self-raising flour for a gluten-free flour blend. Make sure to check the baking powder is gluten-free as well.
Q8: Can I add some spice to the cake?
A8: Yes! A pinch of cinnamon or nutmeg would add a lovely warm flavor to the sponge.
Q9: Is this dessert suitable for vegetarians?
A9: Yes! This recipe is completely vegetarian-friendly.
Q10: How do I get the perfect texture for the sponge?
A10: Make sure you don’t overmix the batter—just stir until everything is combined. And keep the slow cooker lid closed while cooking to ensure a light, fluffy sponge.
Conclusion
This Slow Cooker Golden Syrup Sponge is the perfect dessert for anyone who loves a little indulgence with minimal effort. Soft, spongy cake drenched in sweet golden syrup—it’s the ultimate comfort food made easy. Serve it at your next dinner or cozy up with a bowl on a quiet evening. Either way, you’re in for a treat!
Print
Slow Cooker Golden Syrup Sponge
- Prep Time: 45 minutes
- Cook Time: 1 hour 15 minutes
- Total Time: 2 hours 30 minutes
- Yield: 8-10 servings
- Category: Dessert
- Method: Baking
- Cuisine: American
Description
Caramel Apple Pie offers a deliciously sweet twist on the classic apple pie. With caramel-coated apples baked in a buttery, flaky homemade pie crust, it’s a perfect Autumn dessert. Serve it with ice cream or custard for an extra treat!
Ingredients
- For the Pie Crust:
- 300g (2 cups) plain (all-purpose) flour
- 1 teaspoon fine salt (not sea salt flakes)
- 1 tablespoon white sugar
- 175g (6oz) very cold butter, diced
- 1 tablespoon apple cider vinegar (or another tbsp of iced water)
- 4–5 tablespoons iced water
- For the Apples:
- 850g apples, peeled, cored, and sliced (mix of cooking and eating apples)
- 1 teaspoon ground cinnamon
- 1/2 teaspoon fine salt
- 2 tablespoons cornflour (cornstarch)
- 100g (1/2 cup) soft light brown sugar (adjust for non-cooking apples)
- 80ml (1/3 cup) store-bought caramel sauce
- Finishing Touches:
- 1 beaten egg (for sealing and glazing)
- 1 tablespoon demerara or caster sugar
- Extra caramel sauce for drizzling (optional)
Instructions
- To make the pie crust, mix flour, salt, and sugar in a large bowl. Add cold butter and rub it into the flour mixture until pebbly with small butter chunks.
- Stir in apple cider vinegar and 4 tablespoons iced water, mixing until it forms a rough, shaggy dough. Add more water if needed to bring the dough together without making it sticky.
- Divide the dough in half, wrap in cling film, and chill for an hour.
- Roll out one half of the dough to fit a 9-inch pie plate and line it with the dough. Return to the fridge while prepping the apples.
- In a large bowl, toss the apples with cinnamon, sugar, salt, and cornflour. Spoon the mixture into the pie plate, pressing down to avoid gaps.
- Drizzle caramel sauce over the apples, making sure not to touch the edges of the dough.
- Brush the edge of the bottom dough with the beaten egg to secure the top layer.
- Roll out the second piece of dough, place it over the apples, and press firmly to seal. Trim any excess dough and press the edges flush with the pie plate. Brush with the remaining beaten egg and sprinkle with demerara or caster sugar.
- Bake at 180°C (350°F) for 1 hour 15 minutes, or until the crust is golden and apples are tender. Allow to cool for 30 minutes before serving. Drizzle with extra caramel sauce, if desired.
Notes
- For a richer flavor, try using a mix of tart cooking apples and sweet eating apples.
- Ensure the caramel sauce doesn’t spill over the edges to avoid a messy pie.
Nutrition
- Serving Size: 1 slice
- Calories: 380
- Sugar: 30g
- Sodium: 200mg
- Fat: 22g
- Saturated Fat: 12g
- Unsaturated Fat: 8g
- Trans Fat: 1g
- Carbohydrates: 45g
- Fiber: 3g
- Protein: 3g
- Cholesterol: 55mg