

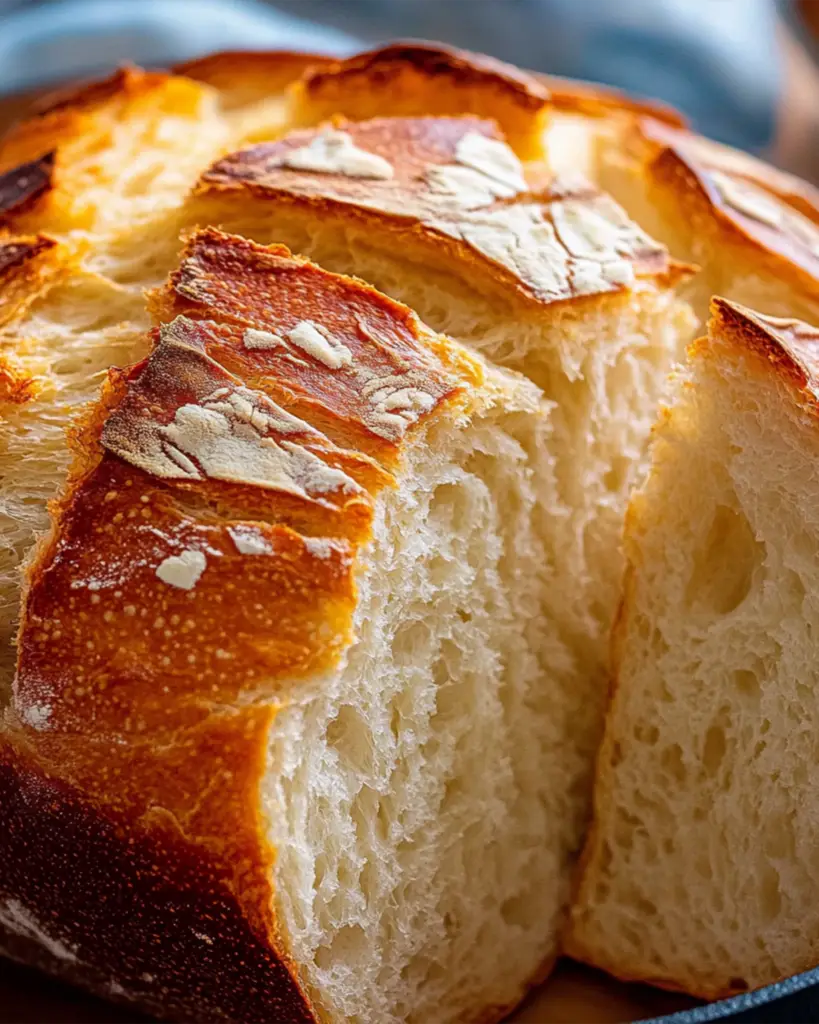
There’s nothing quite like the smell of fresh bread baking in your kitchen—warm, comforting, and downright irresistible. This No-Knead Dutch Oven Bread gives you that bakery-style, crusty-on-the-outside, soft-on-the-inside goodness without the hassle of kneading. It’s ridiculously easy, practically foolproof, and perfect for both beginners and seasoned bakers. Trust me, once you try this, you’ll never go back to store-bought bread again!
Disclosure: This post contains affiliate links.If you click and make a purchase, I may earn a small commission at no extra cost to you.


Why You’ll Love No-Knead Dutch Oven Bread
Effortless: No kneading, no complicated steps—just mix, rest, and bake.
Golden, Crispy Crust: Thanks to the Dutch oven, you get a bakery-style crust with minimal effort.
Soft & Airy Inside: The long fermentation time creates an incredibly soft, chewy texture.
Minimal Ingredients: Only a few pantry staples needed—flour, water, salt, and yeast.
Perfect for Any Occasion: Whether it’s for a cozy breakfast, a side for soups, or a sandwich base, this bread is versatile and delicious.
Ingredients in No-Knead Dutch Oven Bread
Flour: The foundation of the bread—use all-purpose or bread flour for the best texture.
Yeast: Just a small amount does the trick, thanks to the slow fermentation process.
Salt: Enhances the flavor and helps with gluten development.
Water: The key to activating the yeast and forming the dough’s structure.
Optional Add-ins: Customize with herbs, garlic, cheese, or seeds for extra flavor.
(Note: The full ingredients list, including measurements, is provided in the recipe card directly below.)
Instructions
Mix the Dough: In a large bowl, combine the flour, yeast, and salt. Add water and stir until a shaggy dough forms. No need to knead—just mix until combined.
Let it Rise: Cover the bowl with plastic wrap or a towel and let it sit at room temperature for 12-18 hours. The long rest allows the dough to ferment, develop flavor, and create air pockets.
Preheat the Oven & Dutch Oven: Place your Dutch oven (with the lid) in the oven and preheat to 450°F (230°C). This ensures a crispy crust.
Shape the Dough: Lightly flour a surface and gently shape the dough into a ball. Let it rest while the oven preheats.
Bake the Bread: Transfer the dough to a piece of parchment paper, place it into the hot Dutch oven, cover with the lid, and bake for 30 minutes. Remove the lid and bake for another 10-15 minutes until golden brown.
Cool & Enjoy: Let the bread cool on a wire rack before slicing—this helps retain its structure and texture. Then, enjoy the best homemade bread ever!
How to Serve No-Knead Dutch Oven Bread
Classic with Butter: A simple spread of butter on warm slices is pure heaven.
Soup Companion: Serve with hearty soups or stews to soak up all the goodness.
Avocado Toast: Top with smashed avocado, salt, and chili flakes for a trendy twist.
Sandwich Base: Perfect for making gourmet sandwiches or paninis.
Cheese & Charcuterie: Serve alongside cheeses, meats, and spreads for an impressive snack board.
Additional Tips
Use a Heavy-Duty Dutch Oven: A cast-iron Dutch oven retains heat well, giving you that perfect crust.
Don’t Skip the Resting Time: The long rise is what gives this bread its amazing texture.
Flour Variations: Try using whole wheat flour for a nuttier flavor.
Add Flavor: Experiment with mix-ins like rosemary, garlic, or shredded cheese.
Storage Tips: Store in a paper bag or bread box for up to 3 days, or freeze for longer storage.
FAQ Section
Q1: Can I use instant yeast instead of active dry yeast?
A1: Yes! Instant yeast works just as well, and you don’t need to proof it beforehand.
Q2: Can I speed up the rising time?
A2: You can let the dough rise in a slightly warm oven (turned off) for about 6-8 hours, but the longer rise develops better flavor.
Q3: What size Dutch oven should I use?
A3: A 5-7 quart Dutch oven works best for this recipe.
Q4: How do I get an even crispier crust?
A4: Let the bread cool in the oven with the door slightly open after baking.
Q5: Can I add herbs or cheese?
A5: Absolutely! Mix in chopped herbs, shredded cheese, or even olives for extra flavor.
Q6: What if I don’t have a Dutch oven?
A6: You can bake on a preheated baking sheet with an oven-safe bowl of hot water to create steam.
Q7: Can I use whole wheat flour?
A7: Yes, but use a mix of whole wheat and all-purpose for a lighter texture.
Q8: How do I store leftover bread?
A8: Keep it in a paper bag at room temperature for up to 3 days. Freeze for longer storage.
Q9: Why is my bread too dense?
A9: Overmixing or not letting it rise long enough can make the bread too dense.
Q10: Can I double the recipe?
A10: Yes, but be sure your Dutch oven is large enough to accommodate the larger loaf.
Final Thoughts
This No-Knead Dutch Oven Bread is proof that incredible homemade bread doesn’t have to be complicated. With just a few ingredients and some patience, you’ll have a bakery-quality loaf with minimal effort. Give it a try and enjoy the satisfaction of slicing into your own perfectly crusty, soft, and delicious bread!
Print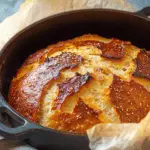
No-Knead Dutch Oven Bread
- Prep Time: 5 minutes
- Cook Time: 50 minutes
- Total Time: 55 minutes
- Yield: 12 slices 1x
- Category: Dinner
- Method: Baking
- Cuisine: American
- Diet: Vegetarian
Description
This no-knead Dutch oven bread has a perfectly crusty texture with a soft, chewy crumb. With just 5 minutes of prep, this easy artisan-style loaf is made with minimal effort. Perfect for pairing with soups, sandwiches, or as a side to any meal!
Ingredients
- 3 1/4 cups all-purpose flour (plus extra for dusting)
- 2 tsp yeast
- 2 tsp salt
- 1 tsp sugar
- 1 1/2 cups lukewarm water (may need more if needed)
Notes
- For a Softer Crust: Let the bread cool under a kitchen towel.
- Storage: Store at room temperature in a paper bag for up to 3 days. For longer storage, freeze in an airtight bag for up to 3 months.
- Variations: Add herbs, cheese, or seeds to customize your loaf.
Nutrition
- Serving Size: 1 slice
- Calories: 116 kcal
- Sugar: 0g
- Sodium: 390mg
- Fat: 0g
- Saturated Fat: 0g
- Unsaturated Fat: 0g
- Trans Fat: 0g
- Carbohydrates: 24g
- Fiber: 1g
- Protein: 3g
- Cholesterol: 0mg