

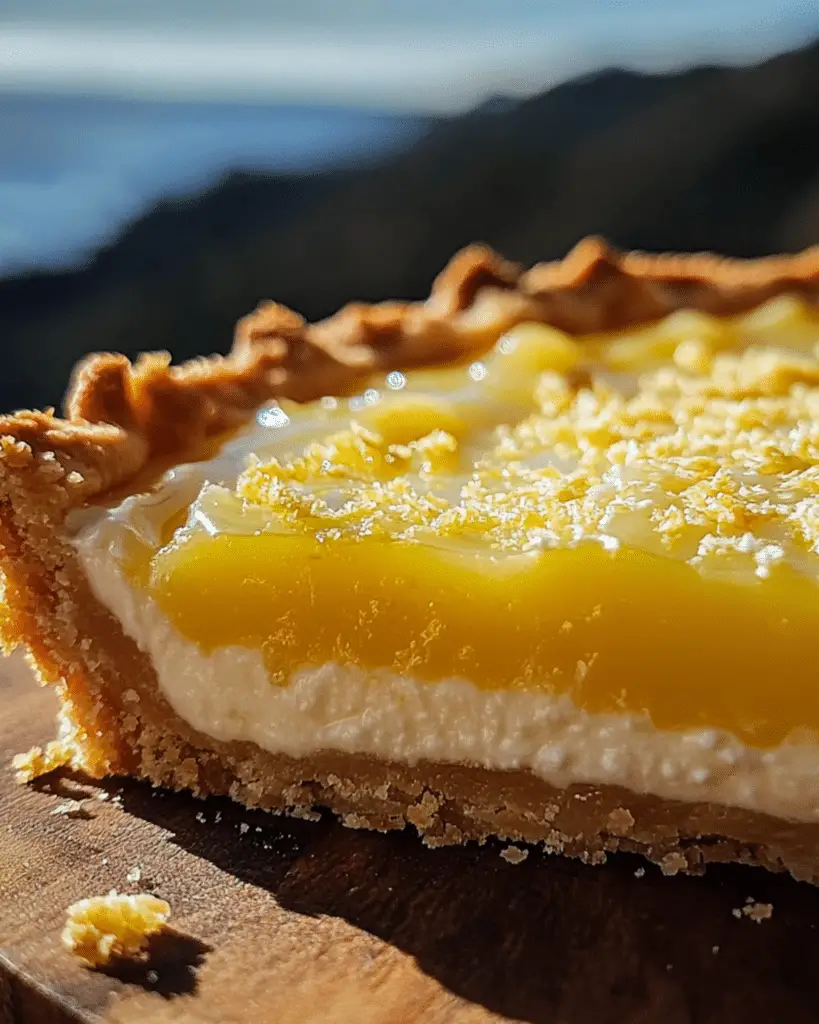
Hey, you! If you’re anything like me, you adore a dessert that’s equal parts zesty and comforting—something that makes your taste buds dance and feels like a hug in every bite. Well, buckle up, because this Lemon Bliss Tart is about to become your new go-to. Picture this: a buttery, flaky crust cradling a silky lemon filling that’s bright, tangy, and just sweet enough to keep you coming back for more. It’s the kind of treat that fills your kitchen with sunshine, no matter the weather outside. Trust me, you’re going to love this—it’s a little slice of heaven you can whip up with ease, and I’m so excited to share it with you!
Disclosure: This post contains affiliate links.If you click and make a purchase, I may earn a small commission at no extra cost to you.


Why You’ll Love Lemon Bliss Tart
This recipe isn’t just about the ingredients—it’s about creating moments. Whether you’re cooking for a casual family dinner, hosting a get-together with friends, or simply indulging in some comforting flavors for yourself, this dish is versatile enough to fit the occasion. Here’s why it’s a favorite:
Versatile: Perfect for busy weeknights or as a standout dish at gatherings. Imagine coming home after a long day, knowing you can whip up something delicious and comforting in no time. Or envision serving this at a party, where guests ask for the recipe before the night ends.
Budget-Friendly: Uses ingredients you likely already have in your kitchen. No need for exotic items; this dish proves that simple ingredients can create extraordinary flavors. It’s perfect for when you’re trying to stick to a budget but still want something hearty and satisfying.
Quick and Easy: Straightforward steps that even beginners can follow. If you’re someone who usually avoids complex recipes, this one is for you. It’s designed to be foolproof, so you can enjoy baking without stress.
Customizable: Easy to tweak with different flavors to suit your preferences. For example, if you love bold flavors, add a splash of vanilla or a hint of ginger. Prefer something milder? Dial back the zest for a softer lemon vibe.
Crowd-Pleasing: A guaranteed hit with both kids and adults. It’s always a win when a single dish can satisfy everyone at the table. This tart strikes the perfect balance of flavor and comfort, making it a universal favorite.
Ingredients
(Note: the full ingredients list, including measurements, is provided in the recipe card directly below.)
Here’s the magic of this tart—it’s made with just a few staples, but the result is so much more than the sum of its parts. Let’s break it down:
All-Purpose Flour: The foundation of that irresistible crust. It’s crisp yet tender, giving you that perfect bite every time.
Butter: Cold and cubed, this is what makes the crust flaky and rich. You’ll taste that buttery goodness in every mouthful.
Sugar: Just enough to balance the tartness, bringing a subtle sweetness that ties everything together.
Lemons: The star of the show! Freshly squeezed juice and zest give this tart its vibrant, zingy soul—bright and refreshing.
Eggs: These beauties create that silky, custard-like filling that melts in your mouth. Pure bliss!
Heavy Cream: Adds a luxurious creaminess to the filling, making it smooth and indulgent.
Instructions
Let’s dive into the steps to create this flavorful masterpiece:
Preheat Your Equipment: Start by preheating your oven to 350°F (175°C). This ensures even baking and gives your tart that golden crust. Preheating is a small but essential step that sets the stage for success.
Combine Ingredients: In a large bowl, combine the flour, sugar, and a pinch of salt for the crust. Cut in the butter until it looks like coarse crumbs. This step builds that flaky texture we’re after—don’t rush it!
Prepare Your Cooking Vessel: Press the dough into a tart pan, making sure it’s even. Proper prep means no sticking and a gorgeous shape when it’s done.
Assemble the Dish: In another bowl, whisk together the lemon juice, zest, sugar, eggs, and cream until smooth. Pour it into the crust. Spread it evenly for that perfect bake, and maybe sneak a taste—it’s irresistible already!
Cook to Perfection: Bake for 25-30 minutes, until the filling is set and the crust is golden. Keep an eye on it toward the end to avoid overcooking—the center should jiggle just a little.
Finishing Touches: Remove from the oven and let it cool for 15 minutes. This step lets the flavors settle and makes slicing a breeze. Patience pays off here!
Serve and Enjoy: Serve warm or chilled—your call! Pair it with a dollop of whipped cream or enjoy it solo. Either way, it’s pure joy on a plate.
Nutrition Facts
Servings: 8
Calories per serving: 320
Preparation Time
Prep Time: 20 minutes
Cook Time: 30 minutes
Total Time: 50 minutes
How to Serve Lemon Bliss Tart
This dish pairs wonderfully with various sides and accompaniments. Here are a few serving suggestions to enhance your dining experience:
Fresh Salads: Pair it with a crisp green salad dressed with a light vinaigrette for a refreshing contrast to the tart’s rich flavors.
Crusty Bread: Serve with warm, crusty bread if you’re feeling extra indulgent—perfect for a cozy vibe.
Creamy Accompaniments: Add a dollop of whipped cream or a scoop of vanilla ice cream to take it over the top.
Vegetable Sides: Roasted berries (think raspberries or strawberries) on the side add a pop of color and a sweet-tart twist.
As a Standalone: Sometimes, this tart is perfect on its own. Dust it with powdered sugar or garnish with lemon zest for a simple, stunning finish.
Presentation matters too! Serve it on a pretty cake stand or platter, and watch your guests’ eyes light up. A sprinkle of zest or a drizzle of honey makes it picture-perfect.
Additional Tips
Here are some extra tips to help you get the most out of this recipe:
Prep Ahead: Save time by making the crust the night before. Store it in the fridge, wrapped tight, and you’re halfway done tomorrow!
Spice It Up: Add a pinch of cardamom or lavender to the filling for a fun twist—totally optional but so worth trying.
Dietary Adjustments: Swap the flour for a gluten-free blend or use a plant-based cream if you’re keeping it dairy-free.
Storage Tips: Keep leftovers in an airtight container in the fridge for up to 3 days. It’s just as tasty cold!
Double the Batch: This freezes like a dream. Make two, freeze one, and thank yourself later when you’re craving lemony goodness.
FAQ Section
Q1: Can I substitute fresh lemons with bottled lemon juice?
A1: You can, but fresh is best! Bottled juice works in a pinch, though it might not have that same zesty punch.
Q2: Can I make this tart ahead of time?
A2: Totally! Bake it a day ahead, let it cool, and store it in the fridge. Warm it up slightly before serving if you like.
Q3: How do I store leftovers?
A3: Pop them in an airtight container in the fridge for up to 3 days. Trust me, they won’t last that long!
Q4: Can I freeze this dish?
A4: Yes! Wrap it well and freeze for up to 2 months. Thaw in the fridge overnight and enjoy.
Q5: What’s the best way to reheat this tart?
A5: Warm it in the oven at 300°F (150°C) for 10 minutes, or zap it in the microwave for 20-second bursts.
Q6: Can I double the recipe?
A6: Absolutely! Use two tart pans or a larger dish—just watch the bake time, as it might need a few extra minutes.
Q7: Can I use a store-bought crust?
A7: Sure thing! It’ll save time, and it’ll still taste amazing with that homemade filling.
Q8: What if my filling looks runny?
A8: No worries—it’ll firm up as it cools. If it’s still soft after baking, give it a few more minutes in the oven.
Q9: Can I add berries to the tart?
A9: Oh, yes! Toss some fresh raspberries or blueberries on top before baking for a fruity twist.
Q10: Is this tart too tart for kids?
A10: It’s got a nice balance, but if they’re sensitive to sour, add a touch more sugar to the filling. They’ll be hooked!
Conclusion
There you have it, my friend—the Lemon Bliss Tart that’s about to steal your heart (and your taste buds)! It’s simple, it’s delicious, and it’s packed with that bright, lemony magic that makes any day feel special. Whether you’re sharing it with loved ones or sneaking a slice just for you, this tart is a game-changer. So grab those lemons, preheat that oven, and let’s make something unforgettable together. You’ve got this—and I can’t wait for you to taste the bliss!
Print
Lemon Bliss Tart
- Prep Time: 10 minutes
- Cook Time: 2 hours
- Total Time: 2 hours 10 minutes
- Yield: 6 servings
- Category: Dessert
- Method: no bake
- Cuisine: American
Description
This Lemon Bliss Tart is a refreshingly tangy and creamy dessert that comes together effortlessly. With a buttery biscuit crust, luscious lemon filling, and a light whipped topping, it’s the perfect treat for fine dining recipes, quick dessert ideas, and homemade recipes. Whether you’re hosting a gathering or craving something sweet, this tart is sure to impress!
Ingredients
- 1 packet digestive biscuits, crushed
- 1/4 cup melted butter
- 1 tin condensed milk
- 1/2 cup lemon juice
- 1/4 cup lemon zest
- 1 cup whipped cream
- 2 chocolates of your choice, crushed (or extra lemon zest for garnish)
Instructions
-
Prepare the Crust:
- Mix crushed digestive biscuits with melted butter until well combined.
- Press the mixture firmly into the base of a tart pan to form an even crust.
- Refrigerate for 10-15 minutes to set.
-
Make the Filling:
- In a bowl, whisk together condensed milk, lemon juice, and lemon zest until smooth and thickened.
-
Assemble the Tart:
- Pour the lemon filling over the chilled crust and spread evenly.
- Refrigerate for at least 2 hours, or until set.
-
Add the Topping:
- Spread whipped cream over the tart.
- Garnish with crushed chocolate or additional lemon zest.
-
Serve & Enjoy:
- Slice and serve chilled for a refreshing, tangy dessert!
Notes
- Use graham crackers instead of digestive biscuits for a slightly different crust.
- Adjust lemon juice to taste for a more or less tangy filling.
- Dark or white chocolate makes a great topping for extra indulgence.
Nutrition
- Serving Size: 1 slice
- Calories: 290 kcal
- Sugar: 28g
- Sodium: 140mg
- Fat: 14g
- Saturated Fat: 8g
- Unsaturated Fat: 5g
- Trans Fat: 0 g
- Carbohydrates: 38g
- Fiber: 1g
- Protein: 4g
- Cholesterol: 25mg