
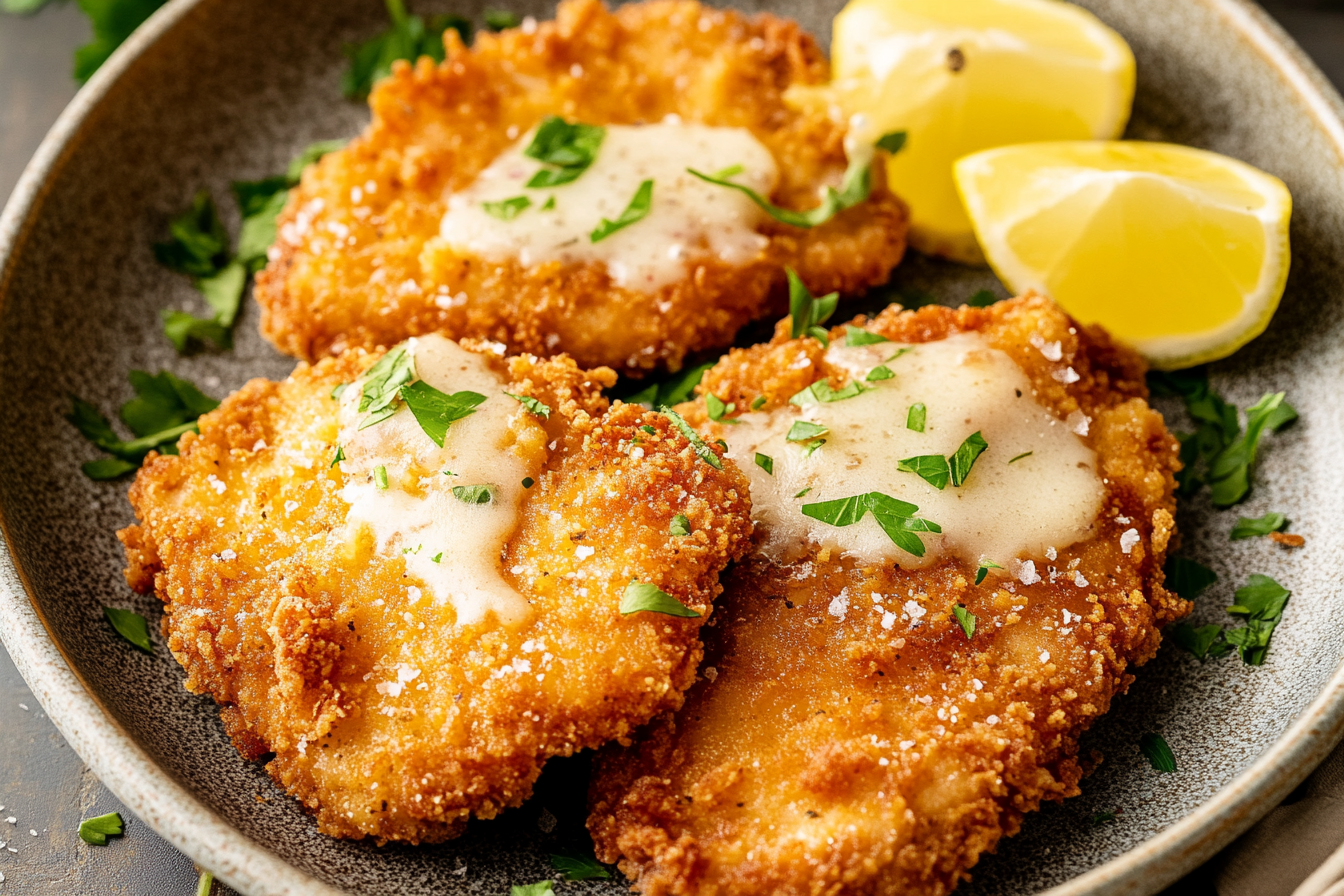
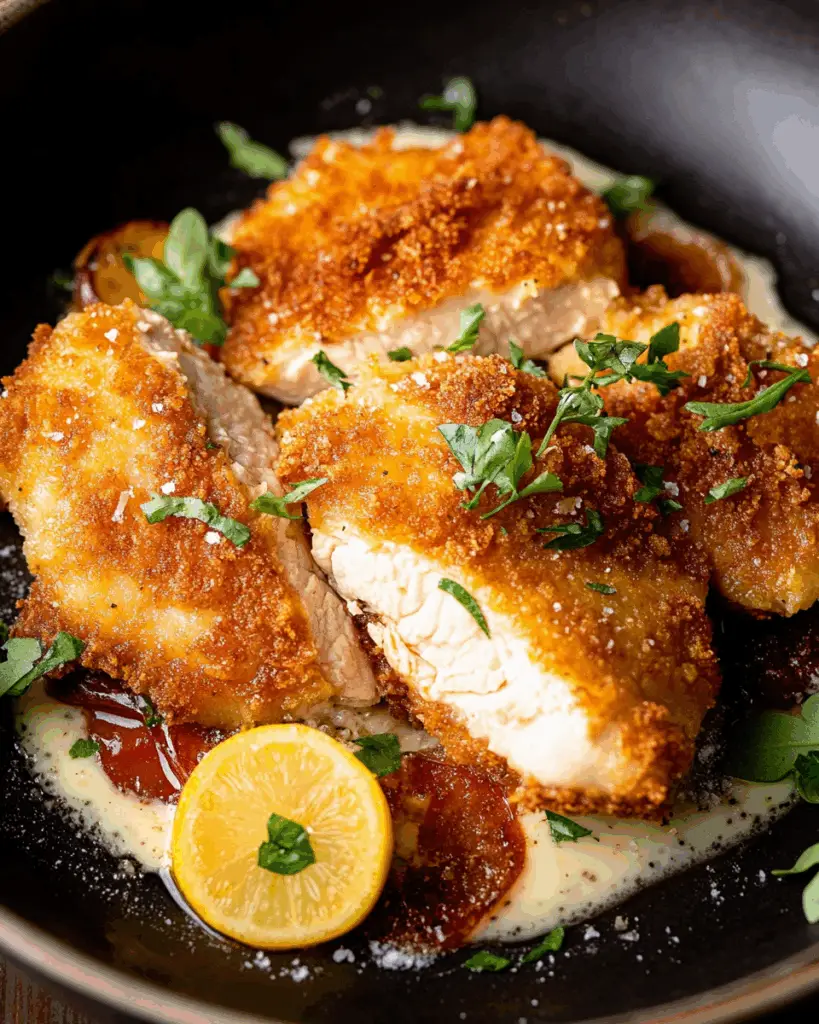
There’s something undeniably satisfying about a crispy, golden crust on a tender chicken cutlet. Enter Crispy Chicken Costoletta—a dish that’s packed with flavor, texture, and that irresistible crunch. Imagine biting into a perfectly fried chicken breast, coated in a crisp, golden exterior, and seasoned just right. It’s everything you crave in a comforting meal, and trust me, you’re going to love it.
Disclosure: This post contains affiliate links.If you click and make a purchase, I may earn a small commission at no extra cost to you.


This recipe is simple, yet absolutely delicious. It’s the kind of dish that makes you feel like a chef even if you’re just getting started in the kitchen. Whether you’re making it for a cozy dinner at home or serving it up for a family gathering, this crispy chicken is sure to be a showstopper. Let’s dive into why this is a must-try!
Why You’ll Love Crispy Chicken Costoletta
Here’s why this recipe deserves a spot on your dinner table:
Crispy & Tender: The secret to a perfectly crispy chicken cutlet with a juicy center. Every bite is a satisfying crunch.
Simple Ingredients, Big Flavor: No complicated ingredients needed—just pantry staples that come together for a deliciously rich taste.
Quick & Easy: Ready in under 30 minutes, this dish is perfect for busy nights when you want something tasty and comforting.
Customizable: Want a little extra flavor? Add herbs like thyme or oregano to the breadcrumbs for a unique twist.
Family Favorite: It’s a hit with everyone—adults, kids, picky eaters, you name it.
Ingredients in Crispy Chicken Costoletta
Let’s talk about the ingredients that make this chicken so crispy and delicious:
Chicken Breasts: Boneless, skinless chicken breasts are the foundation. They stay tender and juicy inside while developing a crisp, golden crust outside.
Breadcrumbs: The key to that satisfying crunch. Panko breadcrumbs give it an extra light and airy texture, but any breadcrumbs will do.
Parmesan Cheese: Adds a salty, nutty flavor that’s the perfect complement to the crispy exterior.
Eggs: Used to help the breadcrumbs stick and create a golden, crunchy coating.
Flour: For dredging—this helps the egg and breadcrumbs stick to the chicken, ensuring the crispy crust holds up.
Garlic Powder, Onion Powder, and Salt: Basic seasonings that bring the chicken to life.
Fresh Parsley: Optional, but it adds a fresh, green touch and a pop of color.
(Note: Full measurements and steps are listed in the recipe card below.)
Instructions
Ready to make the crispiest chicken you’ve ever had? Here’s how:
1. Prep the Chicken:
Start by patting the chicken breasts dry with a paper towel. This helps the coating stick better and gives you that crisp, golden exterior.
2. Set Up Your Dredging Stations:
You’ll need three shallow bowls:
- In the first bowl, add the flour and season with garlic powder, onion powder, and salt.
- In the second bowl, beat eggs.
- In the third bowl, combine the breadcrumbs and Parmesan cheese.
3. Coat the Chicken:
Dredge each chicken breast first in the flour mixture, then dip it into the egg, and finally coat it in the breadcrumb mixture. Press down gently to ensure the breadcrumbs stick.
4. Heat the Oil:
Heat a generous amount of vegetable oil in a large skillet over medium heat. You’ll want enough oil to cover the bottom of the pan and allow the chicken to fry evenly.
5. Fry the Chicken:
Once the oil is hot, add the chicken breasts to the skillet. Cook for about 4-5 minutes on each side, until golden brown and crispy. You may need to work in batches depending on the size of your pan.
6. Drain & Serve:
Once the chicken is crispy and cooked through, transfer it to a plate lined with paper towels to drain any excess oil. Garnish with fresh parsley for a touch of color.
7. Enjoy!
Serve hot with your favorite sides, like mashed potatoes, a fresh salad, or steamed vegetables.
Nutrition Facts
Servings: 4
Calories per serving: 400
Preparation Time
Prep Time: 10 minutes
Cook Time: 10-12 minutes
Total Time: 20-22 minutes
How to Serve Crispy Chicken Costoletta
This crispy chicken cutlet is perfect on its own, but here are a few ideas to take it up a notch:
With a Side Salad: Pair it with a crisp, refreshing salad like a simple Caesar or a mixed greens salad with a lemon vinaigrette.
With Mashed Potatoes: Creamy mashed potatoes are the ultimate comfort food alongside crispy chicken.
Over Pasta: Serve it on top of a bed of spaghetti, or toss it in your favorite marinara sauce for a quick chicken Parmesan.
With Roasted Veggies: Roasted carrots, broccoli, or asparagus make a great veggie side to complement the chicken.
Additional Tips
Make It Gluten-Free: Use gluten-free breadcrumbs and flour for a gluten-free version of this dish.
Use a Meat Thermometer: To ensure the chicken is cooked through, use a thermometer to check for an internal temperature of 165°F (75°C).
Try Different Cheese: Swap the Parmesan for Pecorino Romano for a sharper, tangier flavor.
Store Leftovers: Store any leftover chicken in an airtight container in the fridge for up to 3 days. Reheat in a 350°F (175°C) oven for about 10 minutes to get the crust crispy again.
FAQ Section
Q1: Can I bake the chicken instead of frying it?
A1: Yes! For a healthier option, bake the breaded chicken at 400°F (200°C) for about 20 minutes, flipping halfway through.
Q2: Can I use chicken thighs instead of breasts?
A2: Absolutely! Boneless, skinless chicken thighs work just as well for this recipe and stay extra juicy.
Q3: How do I keep the chicken crispy after frying?
A3: Place the cooked chicken on a wire rack instead of paper towels to allow air circulation, which helps it stay crispy.
Q4: Can I make the chicken ahead of time?
A4: Yes! You can bread the chicken ahead of time, then store it in the fridge for up to 2 hours before frying.
Q5: Can I freeze the breaded chicken?
A5: Yes, you can freeze the breaded chicken before frying. Just freeze it on a baking sheet and once frozen, transfer to a freezer bag for up to 3 months.
Q6: Can I use a different type of oil for frying?
A6: Yes! You can use olive oil, canola oil, or vegetable oil. Just make sure the oil is hot before frying.
Q7: Can I add spices to the breading?
A7: Of course! Add some smoked paprika, cayenne pepper, or Italian seasoning to the breadcrumb mixture for extra flavor.
Q8: Is this recipe kid-friendly?
A8: Yes! The crispy chicken is mild in flavor, making it a perfect option for picky eaters.
Q9: How do I know when the chicken is done?
A9: Use a meat thermometer to check for an internal temperature of 165°F (75°C). The chicken should also be golden and crispy on the outside.
Q10: Can I make this in advance for a meal prep?
A10: Yes! You can cook and store the chicken, then reheat it for a quick and easy meal throughout the week.
This Crispy Chicken Costoletta is your ticket to a dinner that’s crispy, flavorful, and just plain fun to eat. Don’t be surprised when it becomes a new family favorite!
Print
Crispy Chicken Costoletta
- Prep Time: 20 minutes
- Cook Time: 25 minutes
- Total Time: 45 minutes
- Yield: 4 servings 1x
- Category: Dinner
- Method: Pan-Fried
- Cuisine: Italian-American
- Diet: Low Lactose
Description
Crispy Chicken Costoletta is a Cheesecake Factory-inspired dish featuring golden pan-fried chicken breasts coated in panko, parmesan, and lemon zest, topped with a rich, creamy lemon sauce. It’s a restaurant-quality meal you can make at home in under an hour.
Ingredients
- 4 Chicken Breasts, boneless, skinless
- 2 tbsp Seasoning Salt
- 1/2 cup Flour
- 2 Eggs, large
- 1 cup Panko Crumbs
- 1 tbsp Lemon Zest
- 1/2 cup Parmesan Cheese
- 1/4 cup Olive Oil
- 2 tbsp Butter
- 1 tbsp Garlic, minced
- 1 tbsp Flour
- 3/4 cups Heavy Cream
- 1/4 cup Chicken Broth
- 2 tbsp Lemon Juice
- 1/4 cup Parmesan
Instructions
- Pat dry the chicken breasts and flatten to ½ inch thickness using a meat mallet. Season both sides with seasoning salt.
- Set up a breading station: flour in one dish, beaten eggs in another, and a mix of panko, lemon zest, and parmesan in a third.
- Dredge each chicken breast in flour, dip in eggs, then coat with the panko mixture.
- Heat olive oil in a large skillet over medium-high heat. Cook chicken 5-7 minutes per side, or until golden brown and internal temperature reaches 165°F. Cook in batches if needed.
- In a separate saucepan, melt butter over medium heat. Add minced garlic and cook until fragrant, about 1 minute.
- Stir in flour to make a roux and cook for 1 minute.
- Slowly whisk in heavy cream, chicken broth, and lemon juice. Simmer for 2-3 minutes until thickened.
- Remove sauce from heat and stir in parmesan cheese until melted.
- Plate the chicken and drizzle with the creamy lemon sauce before serving.
Notes
- Flattening the chicken ensures even cooking and a crispier texture.
- You can prepare the sauce ahead of time and reheat gently before serving.
- Serve with mashed potatoes, pasta, or roasted vegetables for a complete meal.
- Use freshly grated parmesan for the best flavor and texture in both the breading and sauce.
Nutrition
- Serving Size: 1 chicken breast with sauce
- Calories: 874
- Sugar: 2g
- Sodium: 1120mg
- Fat: 55g
- Saturated Fat: 20g
- Unsaturated Fat: 28g
- Trans Fat: 1g
- Carbohydrates: 26g
- Fiber: 1g
- Protein: 65g
- Cholesterol: 245mg