
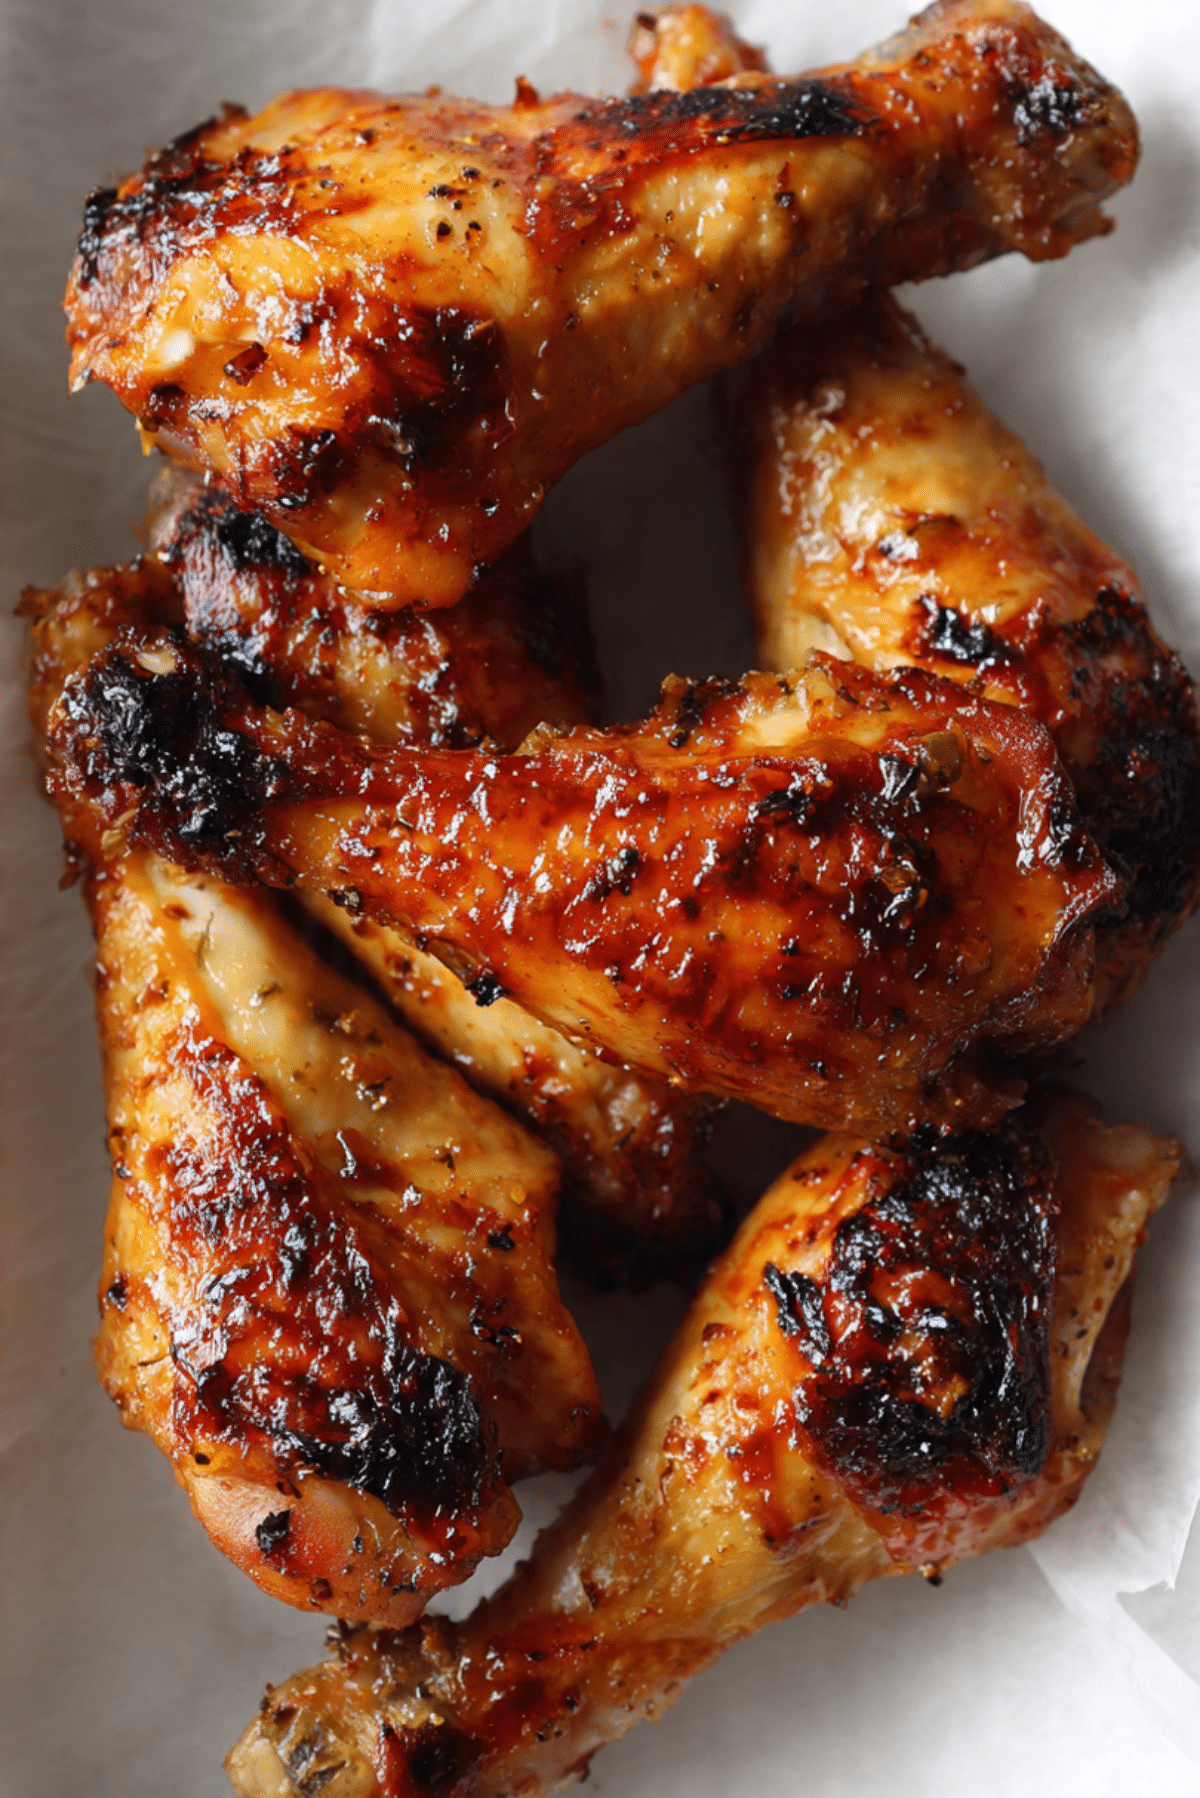
There is something incredibly satisfying about biting into a perfectly cooked chicken drumstick. The crispy, seasoned skin, the juicy meat that pulls away easily from the bone, and that deep golden color that promises bold flavor. The first time I butterflied drumsticks before cooking them, I could not believe the difference. More surface area, more seasoning, more crisp. Trust me, you’re going to love this. This one’s a total game changer for weeknight dinners or weekend gatherings.
Disclosure: This post contains affiliate links.If you click and make a purchase, I may earn a small commission at no extra cost to you.


Why Butterflying Makes All the Difference
Butterflying drumsticks means cutting along the bone and opening the meat slightly so it lays flatter. This simple technique helps the chicken cook more evenly and faster. Even better, it creates extra surface for seasoning and caramelization.
The result is beautifully crisp skin, deeply seasoned meat, and a texture that feels almost grilled even when roasted or pan cooked. It looks impressive, but it is surprisingly easy to do.
A Simple Technique with Big Flavor Impact
Butterflying chicken has been used in many cuisines to ensure faster and more even cooking. By exposing more of the meat to direct heat, you enhance browning and flavor development.
In home kitchens, this technique turns humble drumsticks into something that feels restaurant worthy. It is a small change that delivers big results.
Why This Recipe Always Wins
Before we step into the kitchen, here is why these drumsticks deserve a spot in your rotation.
Versatile: Works in the oven, air fryer, or on the grill.
Budget-Friendly: Drumsticks are one of the most affordable cuts of chicken.
Quick and Easy: Cooks faster than traditional whole drumsticks.
Customizable: Adjust spices to suit your taste.
Crowd-Pleasing: Crispy outside and juicy inside is always a hit.
Make-Ahead Friendly: Marinate ahead for even deeper flavor.
Great for Leftovers: Perfect for wraps, salads, or meal prep bowls.
Pro Tips for Maximum Crispiness
Let’s make sure you get that irresistible golden crust.
- Pat the drumsticks dry before seasoning.
- Cut cleanly along one side of the bone to open the meat evenly.
- Use enough oil to help spices adhere and promote browning.
- Cook at high heat for crisp skin.
- Let the chicken rest before serving to lock in juices.
Essential Kitchen Tools
You do not need much, just a few reliable basics.
Sharp Knife: For safely butterflying the drumsticks.
Cutting Board: Stable surface for precise cuts.
Large Baking Sheet or Grill Rack: Ensures even cooking and airflow.
Tongs: Makes flipping easy and safe.
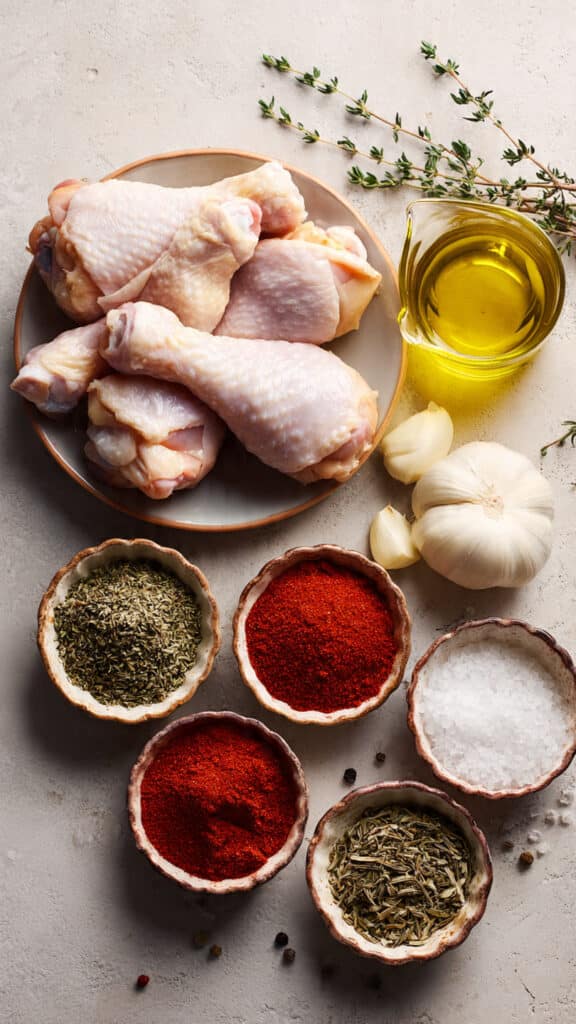
Ingredients That Build Bold Flavor
Now let’s talk about what brings these drumsticks to life.
- Chicken Drumsticks: 8 pieces, about 2 pounds. The star of the dish, juicy and flavorful.
- Olive Oil: 2 tablespoons. Helps the seasoning coat evenly and promotes crisping.
- Garlic Cloves: 3 cloves, minced. Adds savory depth.
- Paprika: 2 teaspoons. Brings warmth and beautiful color.
- Salt: 1 teaspoon. Enhances natural flavor.
- Black Pepper: 1 half teaspoon. Adds mild heat.
- Dried Thyme: 1 teaspoon. Earthy herbal note.
- Dried Oregano: 1 teaspoon. Adds subtle aromatic balance.
Easy Ingredient Swaps
If you want to adjust the flavor profile, here are options.
Paprika: Smoked paprika for a deeper flavor.
Dried Thyme: Italian seasoning blend.
Olive Oil: Avocado oil for high heat cooking.
Spotlight on Key Ingredients
Some ingredients truly shine here.
Paprika: It creates that rich golden color and subtle warmth.
Garlic: Infuses the meat with savory flavor as it cooks.
Let’s Cook These Drumsticks
Alright, and now let’s dive into the step by step process. It is easier than it sounds and so rewarding.
- Preheat Your Equipment: Preheat your oven to 425 degrees Fahrenheit. Line a baking sheet with parchment paper or use a rack for airflow.
- Combine Ingredients: In a bowl, mix olive oil, minced garlic, paprika, salt, black pepper, dried thyme, and dried oregano.
- Prepare Your Cooking Vessel: Using a sharp knife, cut along one side of each drumstick down to the bone and gently open the meat so it lays flatter.
- Assemble the Dish: Pat the drumsticks dry, then rub the seasoning mixture all over each piece, ensuring full coverage.
- Cook to Perfection: Arrange drumsticks on the baking sheet in a single layer. Roast for 35 to 40 minutes, flipping halfway, until golden brown and internal temperature reaches 165 degrees Fahrenheit.
- Finishing Touches: Broil for 2 to 3 minutes at the end for extra crispiness if desired.
- Serve and Enjoy: Let rest for 5 minutes before serving to keep juices inside.
Texture and Flavor Breakdown
The skin turns crispy and slightly caramelized, with spices forming a flavorful crust. Inside, the meat stays tender and juicy. The herbs provide subtle aroma, while garlic and paprika create a warm, savory profile.
Helpful Cooking Tips
A few extra details make a difference.
- Use a wire rack for better air circulation.
- Do not overcrowd the pan.
- Check temperature with a meat thermometer for accuracy.
Common Mistakes to Avoid
Even simple chicken recipes can go wrong without attention.
- Skipping the drying step, which prevents crisping.
- Cooking at too low temperature.
- Overcooking, which dries out the meat.
Nutrition Overview
Servings: 4
Calories per serving: Approximately 380
Note: These values are approximate.
Time Breakdown
Prep Time: 15 minutes
Cook Time: 40 minutes
Total Time: 55 minutes
Make Ahead and Storage Tips
You can season the drumsticks and refrigerate them for up to 24 hours before cooking. Store leftovers in an airtight container in the refrigerator for up to 4 days. Reheat in the oven to restore crispness. They can also be frozen for up to 2 months.
Serving Suggestions
Serve with roasted vegetables, mashed potatoes, or a fresh salad. They also pair beautifully with rice or flatbread.
Creative Leftover Ideas
Shred leftover chicken and use in tacos or wraps. Add to salads or grain bowls for easy meal prep.
Extra Tips for Best Results
Always allow the chicken to rest before serving. This helps redistribute juices and keeps the meat tender.
Make It Look Impressive
Arrange drumsticks on a platter and sprinkle lightly with fresh herbs for color contrast. Serve on a white plate to highlight the golden crust.
Variations to Try
- Add chili powder for heat.
- Brush with a light honey glaze before the final minutes of roasting.
- Add lemon zest for brightness.
- Use a spice blend like Cajun seasoning for bold flavor.
FAQ’s
1. Can I grill these instead of baking?
Yes, grill over medium heat until fully cooked and crispy.
2. How do I know when they are done?
Use a thermometer and ensure internal temperature reaches 165 degrees Fahrenheit.
3. Can I air fry them?
Yes, cook at 400 degrees Fahrenheit for about 25 minutes, flipping halfway.
4. Do I have to butterfly them?
No, but it helps them cook more evenly and crisp better.
5. Can I marinate overnight?
Yes, it enhances flavor.
6. Why are mine not crispy?
They may have been too wet or cooked at low heat.
7. Can I remove the skin?
You can, but the skin adds crispiness and flavor.
8. What oil works best?
Olive oil or avocado oil both work well.
9. Can I double the recipe?
Yes, just use multiple baking sheets.
10. Are they kid friendly?
Absolutely, you can reduce spices if needed.
Conclusion
Butterfly Chicken Drumsticks turn a simple cut of meat into something bold, crispy, and full of flavor. With just a few pantry spices and a smart technique, you get juicy meat and golden skin every time. Once you try this method, it might become your go to way of cooking drumsticks. Let me tell you, it is worth every crispy, savory bite.
Print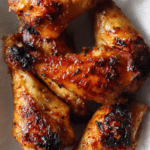
Butterfly Chicken Drumsticks
- Prep Time: 15 minutes
- Cook Time: 40 minutes
- Total Time: 55 minutes
- Yield: 4 servings 1x
- Category: Main Course
- Method: Roasting
- Cuisine: American
Description
Crispy and juicy butterfly chicken drumsticks seasoned with garlic, paprika, thyme, and oregano, roasted at high heat for maximum flavor and golden brown skin. A simple technique that delivers bold, restaurant style results at home.
Ingredients
- 8 chicken drumsticks, about 2 pounds
- 2 tablespoons olive oil
- 3 garlic cloves, minced
- 2 teaspoons paprika
- 1 teaspoon salt
- 1/2 teaspoon black pepper
- 1 teaspoon dried thyme
- 1 teaspoon dried oregano
Instructions
- Preheat oven to 425 degrees Fahrenheit and line a baking sheet with parchment paper or place a wire rack on top.
- Using a sharp knife, cut along one side of each drumstick down to the bone and gently open the meat so it lays flatter.
- Pat the drumsticks dry with paper towels.
- In a bowl, mix olive oil, minced garlic, paprika, salt, black pepper, dried thyme, and dried oregano.
- Rub the seasoning mixture evenly over each drumstick, coating all sides.
- Arrange the drumsticks in a single layer on the prepared baking sheet.
- Roast for 35 to 40 minutes, flipping halfway through, until golden brown and the internal temperature reaches 165 degrees Fahrenheit.
- Optional, broil for 2 to 3 minutes at the end for extra crispiness.
- Let rest for 5 minutes before serving.
Notes
- Patting the chicken dry helps achieve crisp skin.
- Do not overcrowd the pan to allow proper browning.
- Use a meat thermometer to ensure accurate doneness.
- Store leftovers in the refrigerator for up to 4 days and reheat in the oven to maintain crispness.
Nutrition
- Serving Size: 2 drumsticks
- Calories: 380
- Sugar: 0g
- Sodium: 520mg
- Fat: 26g
- Saturated Fat: 6g
- Unsaturated Fat: 17g
- Trans Fat: 0g
- Carbohydrates: 1g
- Fiber: 0g
- Protein: 32g
- Cholesterol: 155mg