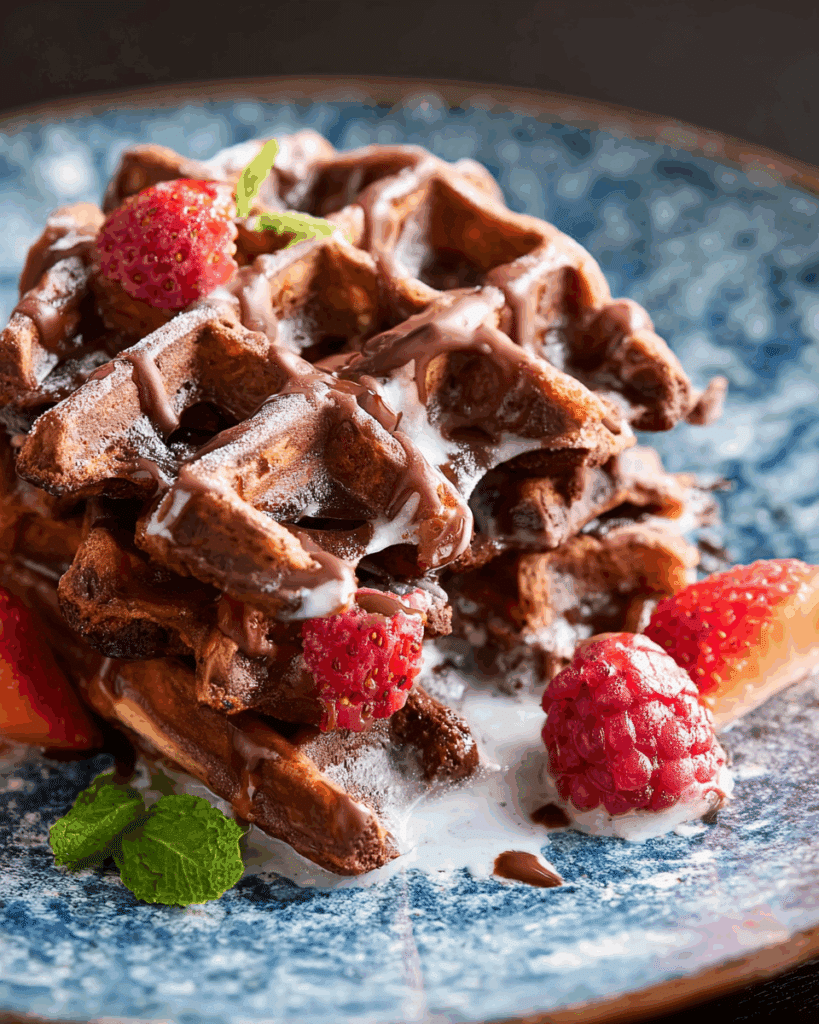
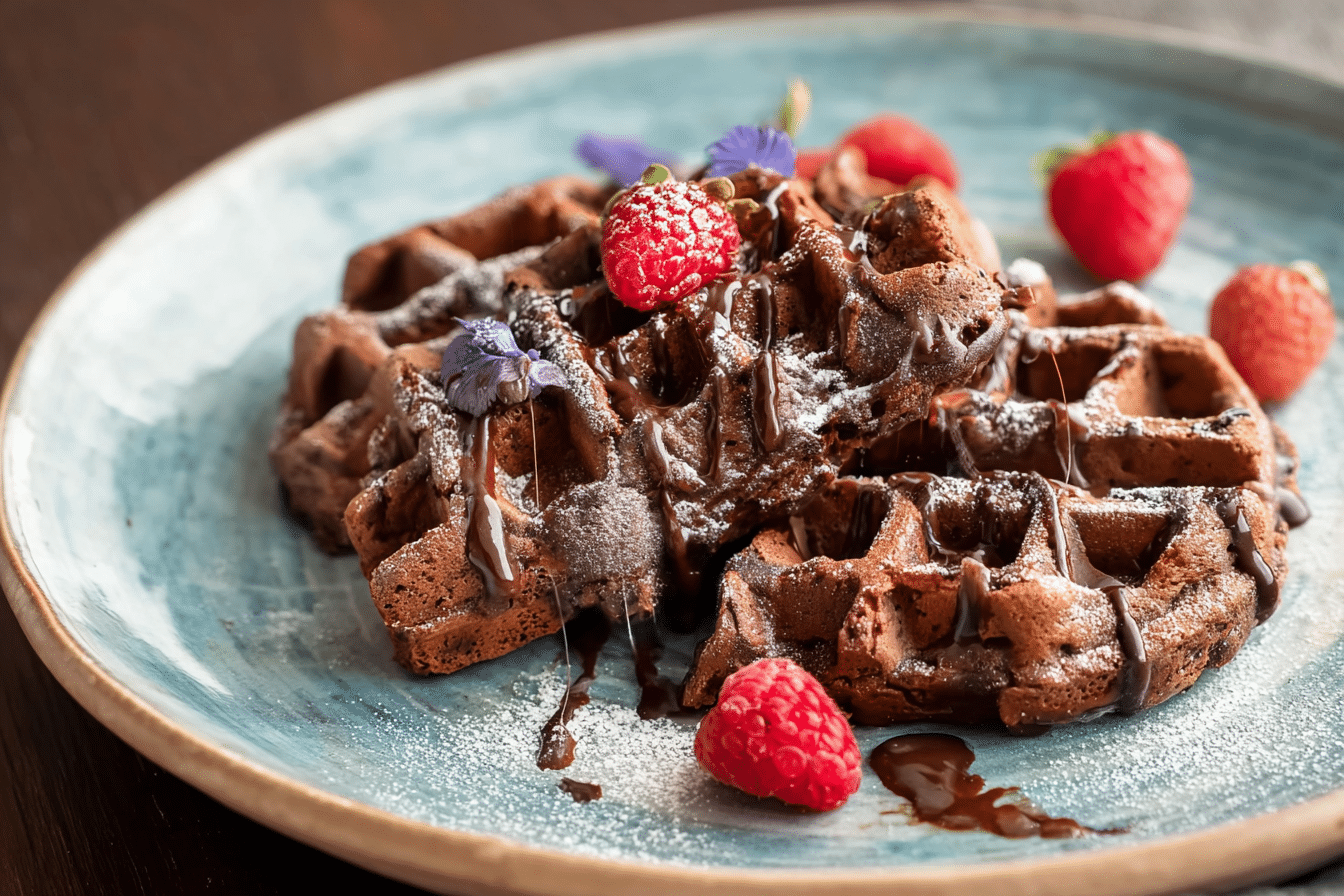
There’s something magical about recipes that blur the lines between dessert and breakfast, don’t you think? That’s exactly what happens when brownies meet waffles. Imagine this: fudgy, chocolatey goodness pressed into a waffle iron until the edges turn delightfully crispy, while the inside stays soft, gooey, and melt-in-your-mouth indulgent. Top it with a drizzle of peanut butter, maybe a scoop of ice cream if you’re feeling extra, and suddenly you’ve turned an ordinary day into a celebration. Trust me, once you try these Brownie Waffles, you’ll be looking for excuses to whip them up again and again.
Disclosure: This post contains affiliate links.If you click and make a purchase, I may earn a small commission at no extra cost to you.
Recipe Origin
The beauty of Brownie Waffles is in their playful twist on two beloved classics. Brownies have always been that comfort dessert—rich, chocolatey, and cozy. Waffles, on the other hand, bring crisp texture and breakfast nostalgia to the table. Put the two together, and you’ve got something that feels both inventive and familiar. While nobody knows the exact first person to throw brownie batter in a waffle maker, this mashup has become a modern comfort-food star. It’s the kind of recipe that screams creativity, but in reality, it’s ridiculously easy to pull off at home.
Kitchen Tools You’ll Need:
- Waffle iron (the star of the show)
- Mixing bowl
- Whisk or fork
- Measuring spoons
- Spatula
- Non-stick spray or butter for greasing

Brownie Waffle
- Prep Time: 5 minutes
- Cook Time: 4 minutes
- Total Time: 9 minutes
- Yield: 1 waffle
- Category: Dessert
- Method: Waffle Iron
- Cuisine: American
Description
This brownie waffle is a quick, single-serve treat that’s rich, fudgy, and perfectly satisfying. Made with peanut butter, cocoa powder, and sugar-free chocolate chips, it’s a low-sugar option for when you’re craving something chocolatey but still want to keep it on the lighter side.
Ingredients
- 1 heaping tablespoon peanut butter (sugar free)
- 1 extra large egg
- 2 teaspoons cocoa powder
- 2 teaspoons monkfruit sweetener (optional, only if you like sweeter waffles)
- Pinch of salt
- 1 1/2 tablespoons sugar-free semi-sweet chocolate chips, divided
- 1–2 teaspoons water, as needed
Instructions
- Preheat your waffle iron.
- In a mixing bowl, whisk together peanut butter, egg, cocoa powder, monkfruit sweetener (if using), and a pinch of salt until smooth.
- Fold in about 1 tablespoon of the chocolate chips, reserving the rest for topping.
- If the batter is too thick, add 1–2 teaspoons of water until it reaches a spreadable consistency.
- Grease the waffle iron lightly, then pour the batter into the center.
- Cook for 3–4 minutes, or until set and slightly crispy on the edges.
- Remove carefully and top with the remaining chocolate chips.
- Serve warm and enjoy as a snack or dessert.
Notes
- Adjust sweetness by adding or omitting the monkfruit sweetener.
- For extra indulgence, drizzle with sugar-free chocolate syrup or a dollop of whipped cream.
- Can also be made in a mini waffle maker for a smaller portion.
Nutrition
- Serving Size: 1 waffle
- Calories: 210
- Sugar: 1g
- Sodium: 150mg
- Fat: 15g
- Saturated Fat: 5g
- Unsaturated Fat: 9g
- Trans Fat: 0g
- Carbohydrates: 10g
- Fiber: 3g
- Protein: 11g
- Cholesterol: 60mg
Why You’ll Love Brownie Waffles
This recipe isn’t just about the ingredients—it’s about creating moments. Whether you’re cooking for a casual family brunch, spoiling yourself on a cozy night in, or dazzling friends with a treat that’s equal parts fun and decadent, these waffles fit the occasion. Here’s why you’ll fall in love with them:
Versatile: Dessert for breakfast? Breakfast for dessert? You get the best of both worlds. Imagine setting these down at a weekend brunch and seeing everyone’s eyes light up. Or picture them as the unexpected star at a dinner party, dressed up with whipped cream, berries, and a sprinkle of powdered sugar.
Budget-Friendly: You won’t need fancy or hard-to-find ingredients here. The magic happens with pantry staples like cocoa powder, peanut butter, and chocolate chips. It proves that you don’t have to splurge to indulge.
Quick and Easy: The batter takes minutes to stir together, and the waffle iron does the rest. No babysitting, no complicated steps. This is chocolate bliss made simple.
Customizable: Add chocolate chips for an extra gooey bite, swirl in a bit of Nutella, or dust with cinnamon sugar. You can go wild with toppings or keep them plain and classic—it’s entirely up to you.
Crowd-Pleasing: Kids go crazy for the fun waffle shape and chocolate flavor, while adults appreciate the indulgence. It’s a recipe that brings everyone to the table with smiles.
Chef’s Pro Tips for Perfect Results:
- Grease your waffle iron well before cooking to ensure easy release and perfectly crisp edges.
- Don’t overmix the batter—just stir until everything is combined for a soft, tender interior.
- Keep the cooked waffles warm in a low oven (around 200°F/90°C) until ready to serve.
- Experiment with toppings! These waffles are basically a blank canvas for your sweet tooth.
Ingredients in Brownie Waffles
Here’s the magic—this recipe is made with just a few everyday staples, but the end result feels like something straight from a café menu. Let’s break it down:
Peanut Butter: Adds creaminess, nuttiness, and a rich base that keeps the waffles moist. Sugar-free peanut butter works great here if you prefer a lighter option.
Egg: The binding agent that holds everything together, giving the waffles just enough structure while keeping them soft.
Cocoa Powder: The heart of that deep, fudgy chocolate flavor. Opt for unsweetened cocoa powder for best results.
Monkfruit Sweetener: Optional, but perfect if you like a little extra sweetness without added sugar. This balances the cocoa’s natural bitterness.
Salt: Just a pinch goes a long way to enhance all the chocolatey notes and keep the flavor well-rounded.
Chocolate Chips: Stirred into the batter and sprinkled on top for melty bursts of chocolate in every bite. Using sugar-free semi-sweet keeps things lighter, but any kind will work.
Water: Just a touch, to thin out the batter if needed. This ensures the waffles spread nicely in the iron without being too thick.
(Note: the full ingredients list, including measurements, is provided in the recipe card directly below.)
Instructions
Let’s dive into the steps to create these crave-worthy waffles:
Preheat Your Equipment: Heat your waffle iron until fully preheated. This ensures the batter cooks evenly and gives you those crispy edges.
Combine Ingredients: In a mixing bowl, whisk together the peanut butter, egg, cocoa powder, sweetener (if using), and salt until smooth. Add a splash of water if the mixture feels too thick.
Add Chocolate Chips: Gently fold in most of the chocolate chips, saving a few to sprinkle on top later.
Prepare Your Waffle Iron: Grease your waffle iron generously with non-stick spray or a thin layer of butter.
Cook to Perfection: Pour the batter into the center of the waffle iron and close the lid. Cook until the edges are crispy and the waffle lifts easily, usually 3–5 minutes.
Finishing Touches: Sprinkle reserved chocolate chips over the hot waffle so they melt slightly. You can also drizzle with peanut butter, chocolate syrup, or even honey.
Serve and Enjoy: Serve warm, straight from the waffle iron. Add toppings like whipped cream, ice cream, berries, or nuts for a decadent experience.
Nutrition Facts
Servings: 1–2
Calories per serving: ~200–250 (varies based on toppings and chocolate used)
Preparation Time
Prep Time: 5 minutes
Cook Time: 5 minutes
Total Time: 10 minutes

How to Serve Brownie Waffles
This dish is so versatile, and how you serve it can completely change the vibe:
Fresh Salads: Believe it or not, these waffles pair beautifully with a fruit salad—think strawberries, blueberries, or even sliced bananas. The freshness cuts through the richness.
Crusty Bread: If you’re leaning toward brunch vibes, serve alongside warm toast or croissants. They make a fun sweet-and-savory combo.
Creamy Accompaniments: A scoop of vanilla ice cream or a dollop of whipped cream takes these waffles into dessert territory. Greek yogurt is a lighter but equally tasty option.
Vegetable Sides: For a brunch spread, add roasted vegetables on the side—it balances indulgence with freshness.
As a Standalone: These waffles are rich enough to stand on their own. A drizzle of chocolate sauce and a sprinkle of powdered sugar can turn them into a showstopper.
Make-Ahead and Storage Tips
- Make-Ahead: Prepare the batter up to 24 hours in advance and keep it in the fridge. Stir before using.
- Storage: Store leftover waffles in an airtight container in the fridge for up to 3 days.
- Freezer-Friendly: Freeze waffles in a single layer on a baking sheet, then transfer to a freezer bag. Reheat in a toaster or oven for a quick treat.
Variations to Try:
- Nutty Twist: Swap peanut butter for almond butter or hazelnut spread.
- Mocha Flavor: Add a teaspoon of instant espresso powder for coffee-chocolate bliss.
- Spiced Up: Stir in a pinch of cinnamon, cayenne, or chili powder for a bold kick.
- Classic Dessert: Serve brownie waffles with ice cream, hot fudge, and sprinkles for a sundae-style treat.
- Breakfast Edition: Top with Greek yogurt, granola, and honey for a morning-friendly twist.
Additional Tips
- Prep Ahead: Chop toppings and measure ingredients the night before for a quicker morning treat.
- Spice It Up: Play with spices like nutmeg, ginger, or cardamom for seasonal flavors.
- Dietary Adjustments: Use dairy-free chocolate and a flax egg for a vegan version.
- Storage Tips: Keep waffles crisp by reheating in the oven instead of the microwave.
- Double the Batch: Make extra and freeze for busy days—you’ll thank yourself later.
FAQ Section
Q1: Can I substitute peanut butter with almond butter?
A1: Absolutely! Almond butter works beautifully and adds a slightly different nutty flavor.
Q2: Can I make these waffles without sweetener?
A2: Yes! The chocolate chips add sweetness, so you can skip the sweetener if you prefer.
Q3: How do I keep waffles crispy after cooking?
A3: Place cooked waffles on a wire rack in a warm oven until ready to serve. Avoid stacking, as that traps steam and softens them.
Q4: Can I make the batter ahead of time?
A4: Definitely. Store in the fridge up to 24 hours, but give it a stir before cooking.
Q5: What’s the best way to reheat frozen waffles?
A5: Pop them in the toaster or bake in a 350°F oven for about 10 minutes.
Q6: Can I double or triple the recipe?
A6: Yes! Just scale up the ingredients. Perfect if you’re feeding a crowd.
Q7: Can I make these gluten-free?
A7: They already are! Just make sure your cocoa powder and chocolate chips are certified gluten-free.
Q8: What toppings work best?
A8: Anything goes—berries, nuts, ice cream, whipped cream, syrups, or just a dusting of powdered sugar.
Q9: Do I need a fancy waffle iron?
A9: Not at all! Any standard waffle maker works. Just adjust cooking time as needed.
Q10: Can I serve these cold?
A10: Yes, but they’re definitely at their best warm with melty chocolate chips.
Conclusion
Brownie Waffles are proof that sometimes the best recipes are the simplest ones. With just a handful of pantry ingredients and a few minutes in the waffle iron, you’ve got a treat that’s indulgent yet approachable, playful yet satisfying. They’re perfect for brunches, dessert nights, or even a weekday pick-me-up when you need something extra special. Next time you want to surprise your family—or yourself—give these a try. Trust me, you’re going to love them.


