
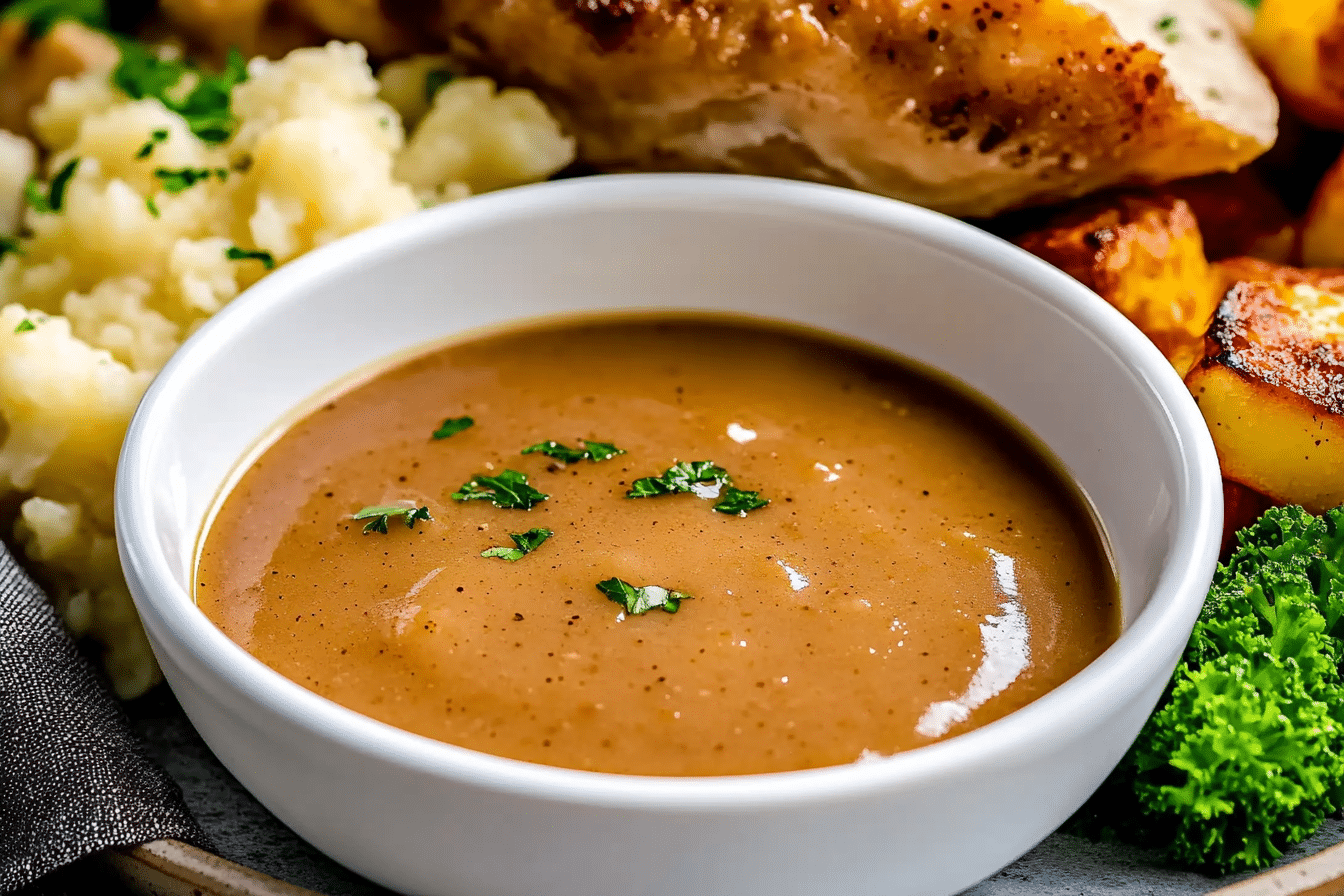
There’s something magical about gravy, isn’t there? It’s that rich, velvety sauce that brings everything together and makes every bite feel like a warm hug. Whether you’re ladling it over mashed potatoes, turkey, or just dipping a fresh roll into it, gravy has this wonderful way of elevating a meal. Today, we’re diving into how to make gravy from scratch, and trust me, once you’ve tasted homemade gravy, you won’t want to go back to store-bought.
Disclosure: This post contains affiliate links.If you click and make a purchase, I may earn a small commission at no extra cost to you.


Why You’ll Love This Gravy Recipe
This gravy isn’t just a sidekick to your main dish—it’s the star of the show! Whether it’s Thanksgiving or a cozy Sunday dinner, this recipe will have everyone asking for more. Here’s why you’ll love it:
Versatile: Gravy is a game-changer, perfect for so many dishes. Pour it over mashed potatoes, chicken, beef, or even your favorite veggie sides. The possibilities are endless!
Budget-Friendly: You won’t need anything too fancy for this recipe. With a few basic ingredients, you can make gravy that tastes like it came from a gourmet kitchen.
Quick and Easy: There’s no need to worry about complicated techniques. This recipe is simple, quick, and easy to follow, making it perfect even for beginners.
Rich & Flavorful: Trust me, this gravy is packed with flavor. It’s the kind of recipe where you’ll want to drizzle it on everything because it makes everything taste better.
Ingredients
Here’s the magic behind this gravy. You won’t need to run to the store for anything special; these ingredients are likely already in your kitchen!
- Butter: The rich, creamy base that gives the gravy its smooth texture.
- Flour: This helps thicken the gravy to that perfect consistency.
- Broth: Whether you use chicken, beef, or vegetable broth, it adds that savory, umami flavor.
- Seasoning: A mix of salt, pepper, and any other seasonings you like to give the gravy its depth.
- Pan Drippings (optional): If you’re roasting meat, these golden drippings are like liquid gold. They add so much flavor!
(Note: The full ingredients list, including measurements, is provided in the recipe card directly below.)
Instructions
Let’s dive into the steps to create this flavorful masterpiece:
Preheat Your Pan: Start by heating a large skillet or saucepan over medium heat. We want it hot enough to melt the butter but not too hot to burn it.
Melt the Butter: Add the butter to the pan and let it melt, swirling it around to coat the bottom. The smell of melted butter alone is enough to make your mouth water!
Whisk in the Flour: Once the butter has melted, add the flour. Stir it constantly to create a roux, which will give the gravy its rich, thick texture. Keep whisking for about 2 minutes until the mixture is golden brown.
Add the Broth: Slowly pour in the broth, whisking continuously to avoid lumps. The liquid will thicken as it heats up.
Season to Taste: Season the gravy with salt and pepper, and feel free to add any extra seasonings like garlic powder or thyme if you want to make it your own.
Simmer: Let the gravy simmer for a few minutes, stirring occasionally. You’ll notice it will thicken up to a smooth, velvety texture. If you like your gravy thinner, just add a bit more broth until it’s perfect for you.
Serve and Enjoy: Once your gravy has reached that perfect consistency, it’s time to pour it over your favorite dish. Don’t be shy—this is your moment to make everything taste a little more amazing.
How to Serve Gravy
Gravy is truly one of the most versatile sides. Here are some ideas for pairing:
- Mashed Potatoes: This is the classic pairing. Pour your rich, savory gravy over a heaping mound of creamy mashed potatoes for a comforting, delicious dish.
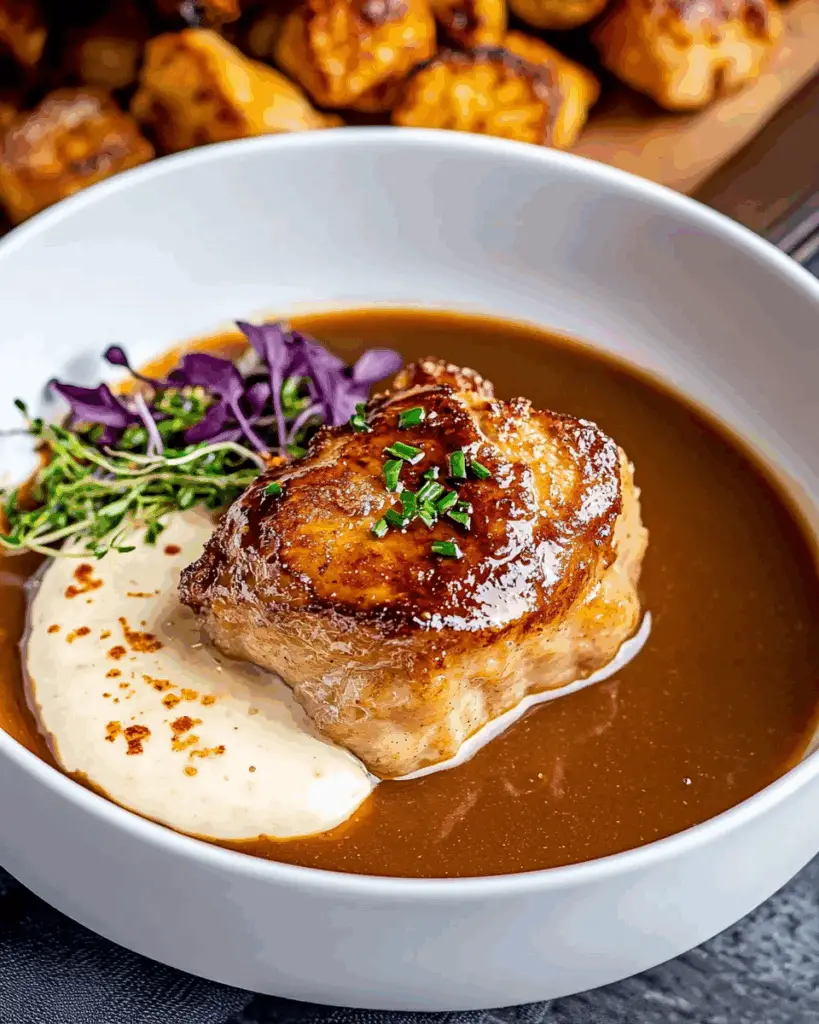
- Roast Meat: Whether it’s chicken, turkey, beef, or pork, gravy brings out the best in roasted meats.
- Biscuits: A warm biscuit with gravy on top? Yes, please!
- Vegetables: Roasted carrots, green beans, or any veggie you love will taste even better with a spoonful of gravy.
- Bread: Slice up some crusty bread and let it soak in all that gravy goodness.
Additional Tips
Here are some extra tips to help you get the most out of this recipe:
Use Drippings: If you’re roasting meat, the pan drippings add so much flavor to your gravy. Just use those instead of, or in addition to, broth for an even richer taste.
Make it Ahead: Gravy can be made ahead of time and stored in the fridge for up to 3 days. Reheat it gently before serving.
Thicken or Thin: If your gravy is too thick, simply add more broth to thin it out. If it’s too thin, let it simmer a little longer to thicken.
Add Flavor Variations: Get creative with your gravy. A splash of cream or a pinch of herbs like rosemary or thyme can add an extra layer of flavor.
FAQ Section
Q1: Can I make this gravy without drippings?
A1: Yes! You can easily use just broth and butter for a delicious gravy. The drippings are optional but add a wonderful depth of flavor.
Q2: Can I make gravy ahead of time?
A2: Yes, you can make it ahead and store it in the fridge for up to 3 days. Reheat it on the stovetop, adding a little extra broth if needed.
Q3: How do I store leftover gravy?
A3: Store leftover gravy in an airtight container in the fridge for up to 3 days. Reheat it gently on the stovetop.
Q4: Can I freeze gravy?
A4: Yes, gravy freezes well! Just store it in an airtight container and freeze for up to 3 months. When you’re ready, thaw it in the fridge and reheat on the stovetop.
Q5: How do I reheat leftover gravy?
A5: Reheat on the stovetop over low heat, stirring occasionally. You can add a bit more broth if it’s too thick.
Q6: Can I double the recipe?
A6: Absolutely! This recipe can easily be doubled if you’re serving a crowd. Just make sure you have a big enough pan to accommodate the extra ingredients.
Conclusion
Making gravy from scratch is simpler than you might think, and the end result is absolutely worth it. Once you taste this rich, flavorful gravy, you’ll wonder why you ever reached for the jarred stuff. It’s perfect for drizzling over mashed potatoes, meats, and vegetables, making every meal a little more delicious. So, grab those simple ingredients and start making gravy that’ll leave everyone asking for seconds! Enjoy!
How to Make Gravy
- Prep Time: 5 minutes
- Cook Time: 10 minutes
- Total Time: 15 minutes
- Yield: 6 servings 1x
- Category: Sides
- Method: Stovetop
- Cuisine: British
- Diet: Low Lactose
Description
Learn how to make rich, flavorful beef gravy using meat juices, stock, and a simple cornstarch slurry. This quick and easy recipe yields plenty of delicious gravy perfect for your roast dinner.
Ingredients
- Meat juices from your roasted meat
- 2–3 crumbled stock cubes (chicken, beef, or lamb, or 3 tsp concentrated liquid stock)
- 720 ml (3 cups) hot vegetable stock (from your boiled/steamed vegetables and potatoes)
- 1/4 tsp salt
- 1/4 tsp black pepper
- 2 tbsp cornflour/cornstarch
- 5 tbsp cold water
- 1/4 tsp gravy browning (optional)
Instructions
- Heat the meat juices in the roasting tin over direct heat.
- Sprinkle in the crumbled stock cubes or add the liquid stock.
- Stir while gradually pouring in the hot vegetable stock. Bring to a boil and lightly season with salt and pepper.
- Mix the cornflour with cold water to make a slurry, then whisk it into the gravy until thickened.
- Let it bubble gently. Add any additional meat juices from rested meat.
- Taste and adjust seasoning with more salt and pepper if needed.
- If desired, stir in gravy browning for a darker color.
- Serve immediately, or keep warm and reheat just before serving.
Notes
- Use the vegetable water from boiled potatoes or steamed veg for added flavor and less waste.
- Gravy can be made ahead and reheated in the microwave or on the stove.
- Gravy browning is optional but helps achieve a rich, dark color.
Nutrition
- Serving Size: 1 serving
- Calories: 35
- Sugar: 1g
- Sodium: 480mg
- Fat: 1g
- Saturated Fat: 0g
- Unsaturated Fat: 0.5g
- Trans Fat: 0g
- Carbohydrates: 6g
- Fiber: 0g
- Protein: 1g
- Cholesterol: 0mg